Mini Pumpkin Pies with Whipped Cream and Cinnamon
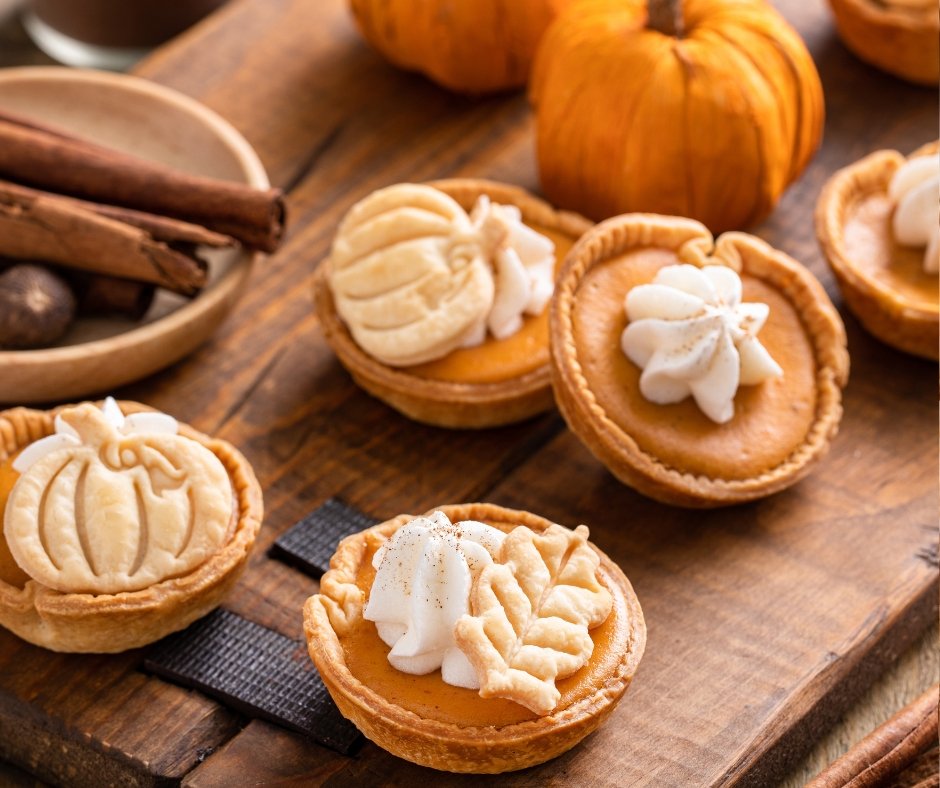
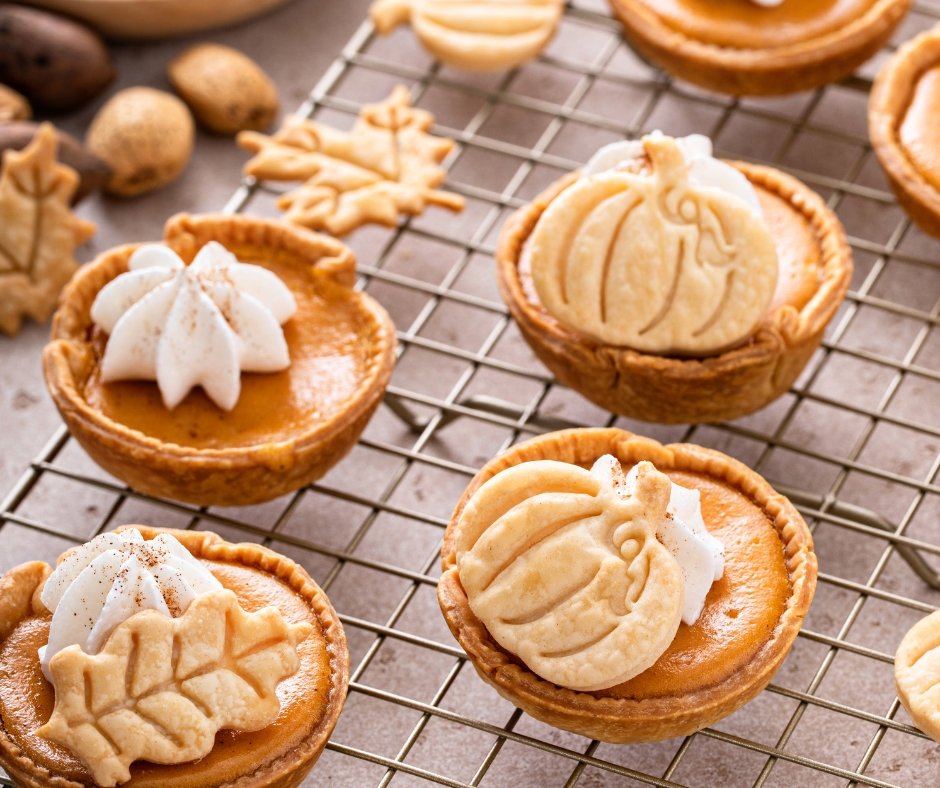
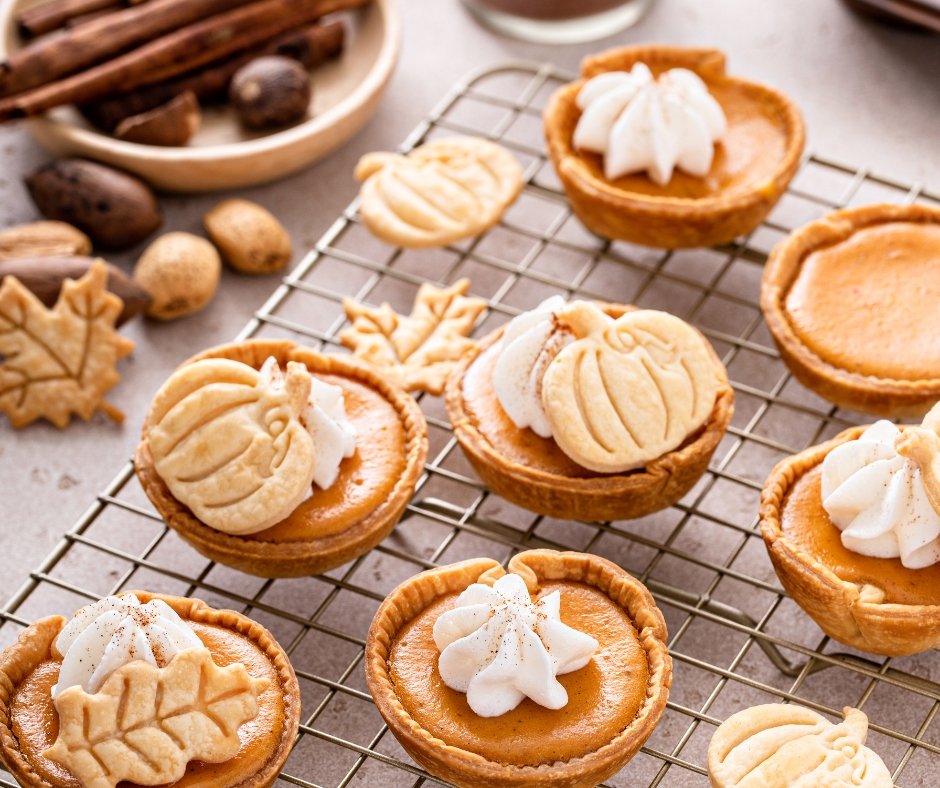
These Mini Pumpkin Pies are made with a flaky pie crust pressed into a muffin tin, filled with a classic spiced pumpkin filling, and topped with whipped cream and a dusting of cinnamon once baked and cooled.

They’re individually portioned, so there’s no slicing or serving spoon needed at the table.
I make a tray of these for Thanksgiving when I want pumpkin pie without committing to a whole pie plate, or for a smaller gathering where a full pie feels like too much.
They’re also easy to grab and eat with your hands.
If you like individually portioned fall desserts like these, these are worth trying too:
- Pumpkin Pie Bars with Shortbread Crust
- Mini Apple Pie One Bite Crescents (Kifli)
- 27 Crowd Pleasing Thanksgiving Appetizers
- 20 Irresistible Individual Dessert Cups and Shooters (All No Bake)
Ingredients You’ll Need
Store-bought pie crust works well here and saves a lot of time, though homemade is fine too if you’d rather.
Pure canned pumpkin gives you full control over the sweetness and spice level in the filling.
 Print
Print
Ingredients
2 refrigerated pie crusts
1 can (15 oz) pure pumpkin puree
3/4 cup packed brown sugar
2 large eggs
3/4 cup heavy cream
2 tsp pumpkin pie spice
1/4 tsp salt
1 cup heavy whipping cream, for topping
2 tbsp powdered sugar, for topping
1/2 tsp ground cinnamon, for topping
Directions
- Preheat your oven to 375°F and grease a 12-cup muffin tin well.
Roll out the pie crusts and use a round cutter (about 4 inches) to cut circles from the dough.
Press each circle gently into a muffin cup, working it up the sides. - In a large bowl, whisk together the pumpkin puree, brown sugar, and eggs until smooth.
Whisk in the heavy cream, pumpkin pie spice, and salt until fully combined.
The filling should be smooth and pourable, similar to a thin batter. - Pour the filling into the crust-lined muffin cups, filling each about three-quarters full.
Don’t overfill them – the filling puffs slightly while baking and settles as it cools.
Place the tin on a baking sheet to catch any drips. - Bake for 22 to 25 minutes, until the filling is set and no longer jiggly in the center.
This one takes a bit of attention near the end, just so you know, since the crust edges can brown faster than the filling sets.
Tent the tin loosely with foil if the crust edges start browning too quickly. - Let the mini pies cool in the tin for 10 minutes, then run a knife around the edges and carefully remove them.
Let them cool completely on a wire rack, then chill in the fridge for at least 1 hour.
This chill time firms up the filling and makes the pies easier to top and serve neatly.
- Whip the heavy cream and powdered sugar together until soft peaks form.
Top each mini pie with a dollop of whipped cream and a light dusting of cinnamon.
Serve chilled and enjoy!
Important Recipe Notes
- Don’t overfill the crust cups. The filling puffs up slightly while baking and can overflow if the cups are filled too close to the top.
- Watch the crust edges near the end of baking. Because these are small, the exposed crust edges can brown faster than the filling fully sets. Tent with foil if needed.
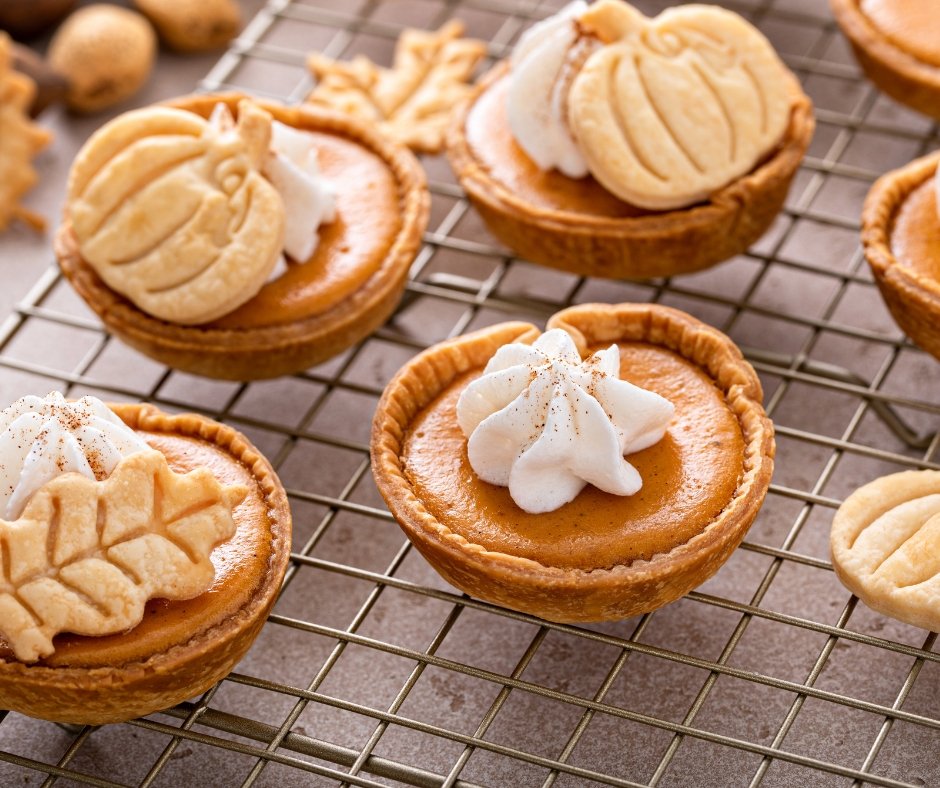
- Chill before topping with whipped cream. Warm filling can cause the whipped cream to melt and slide right off. A full hour in the fridge sets things up properly.
- Whip the cream just before serving, not too far ahead, since whipped cream can start to deflate and weep after sitting for a while.
- Store un-topped mini pies in an airtight container in the fridge for up to 4 days. Add whipped cream fresh right before serving each time.
- These freeze well without the whipped cream topping. Freeze the baked, cooled pies for up to 2 months and thaw in the fridge before adding fresh whipped cream.
How to Serve, Store & Customize This Recipe
Serving:
Serve chilled, topped with fresh whipped cream and a dusting of cinnamon right before eating. These are easy to hand out individually at a gathering without needing plates or forks.
Storage:
Keep un-topped mini pies in an airtight container in the fridge for up to 4 days, adding whipped cream fresh each time you serve them. For longer storage, freeze un-topped pies for up to 2 months.
Customization:
Add a sprinkle of chopped candied pecans on top of the whipped cream for extra crunch, or swap the whipped cream for a dollop of mascarpone sweetened with a little honey.
A drizzle of caramel sauce over the top makes these feel a bit more like a special dessert.
Mini Pumpkin Pies with Whipped Cream and Cinnamon
Course: Recipes12 mini pies
servings25
minutes25
minutes230
kcalIngredients
2 refrigerated pie crusts
1 can (15 oz) pure pumpkin puree
3/4 cup packed brown sugar
2 large eggs
3/4 cup heavy cream
2 tsp pumpkin pie spice
1/4 tsp salt
1 cup heavy whipping cream, for topping
2 tbsp powdered sugar, for topping
1/2 tsp ground cinnamon, for topping
Directions
- Preheat oven to 375°F, cut circles from the pie crust, and press into the muffin tin.
- Whisk together the pumpkin, sugar, eggs, cream, and spices to make the filling.
- Fill the crust cups with the pumpkin filling, being careful not to overfill.
- Bake 22 to 25 minutes until the filling is fully set.
- Cool and remove the mini pies, then chill for at least 1 hour.
- Whip the cream, top the pies, and serve chilled. Enjoy!
Notes
- Use 100% pure pumpkin puree, not pumpkin pie filling, so you can control the sweetness and spices.
- Store-bought mini pie crusts work well when you need a quick fall dessert, but homemade pastry can also be used.
- Don’t overfill the crusts. Leave a little room at the top because the pumpkin filling will puff slightly as it bakes.
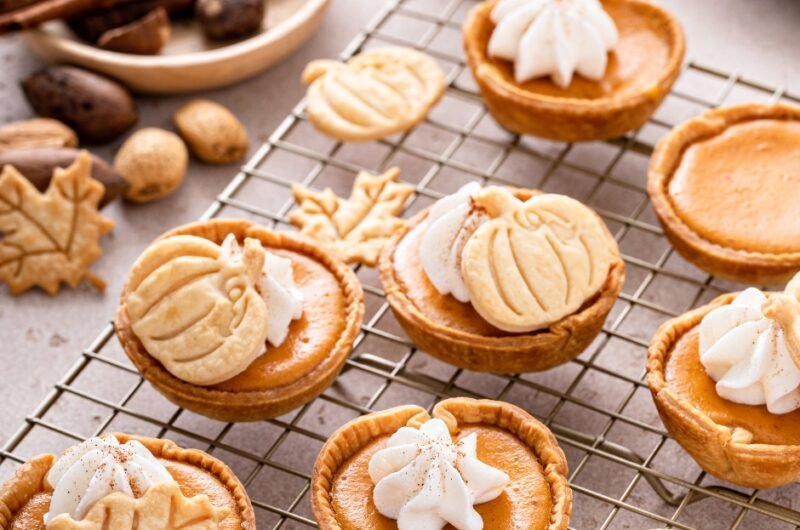
- For serving, top each pie with a small swirl of whipped cream and a light dusting of ground cinnamon or pumpkin pie spice.
- Per 1 mini pumpkin pie with whipped cream
Based on a typical mini pie recipe; exact values will vary depending on crust size, sugar, cream, and serving size.
Calories: 190 kcal
Carbohydrates: 25 g
Protein: 3 g
Fat: 9 g
Saturated Fat: 4 g
Cholesterol: 35 mg
Sodium: 150 mg