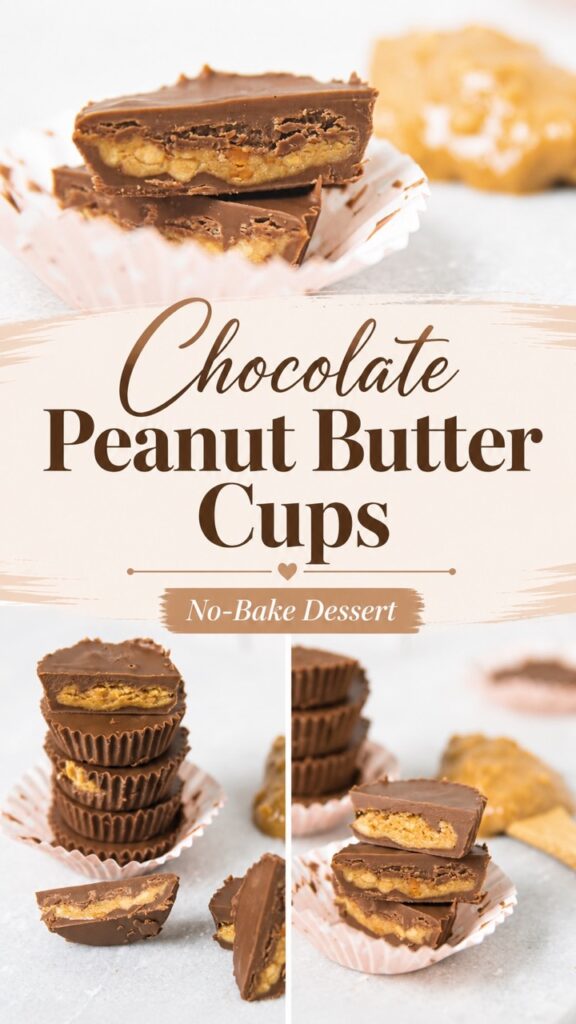
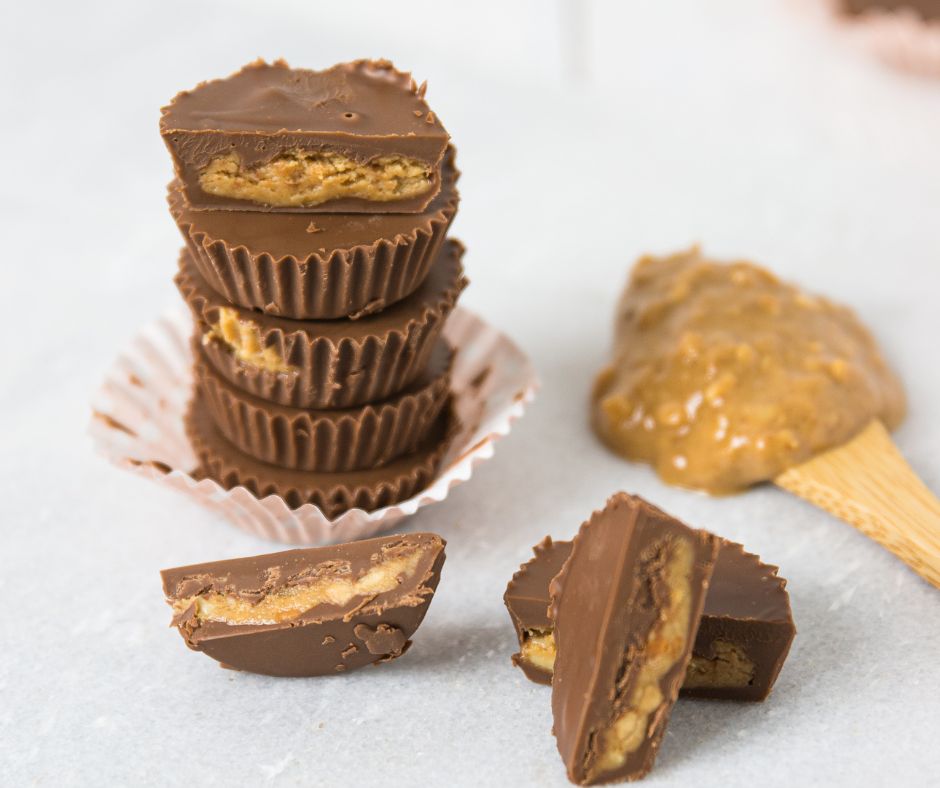
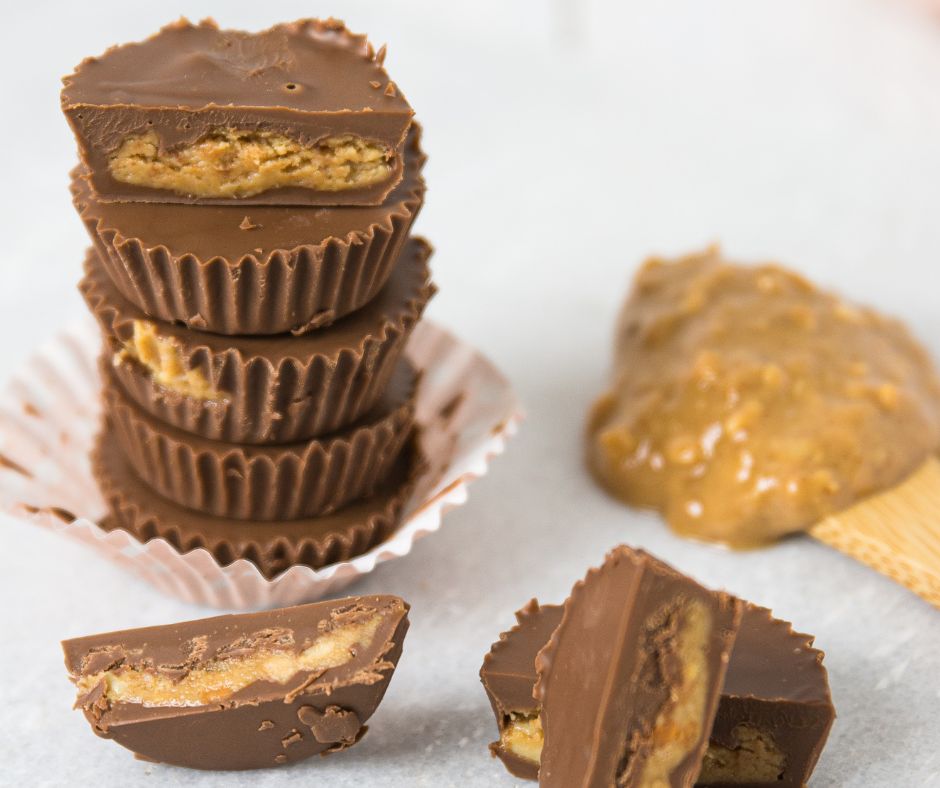
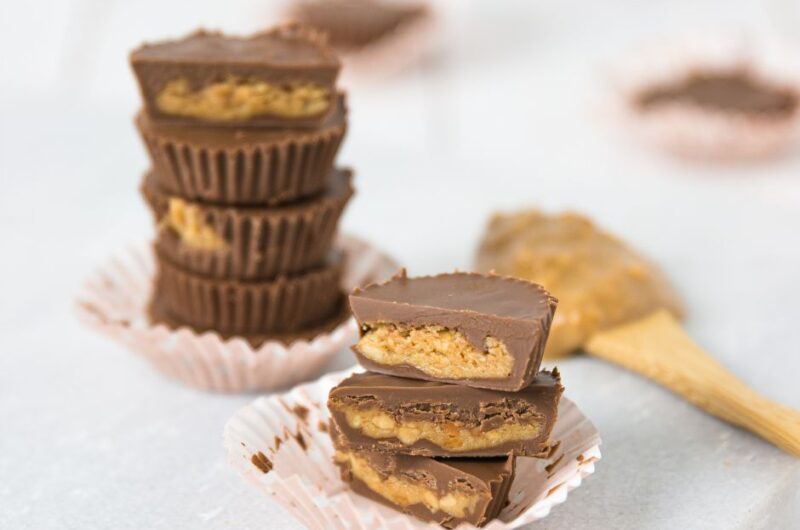
These Chocolate Peanut Butter Cups are a no-bake dessert made with melted chocolate, creamy peanut butter, powdered sugar, and a pinch of salt.
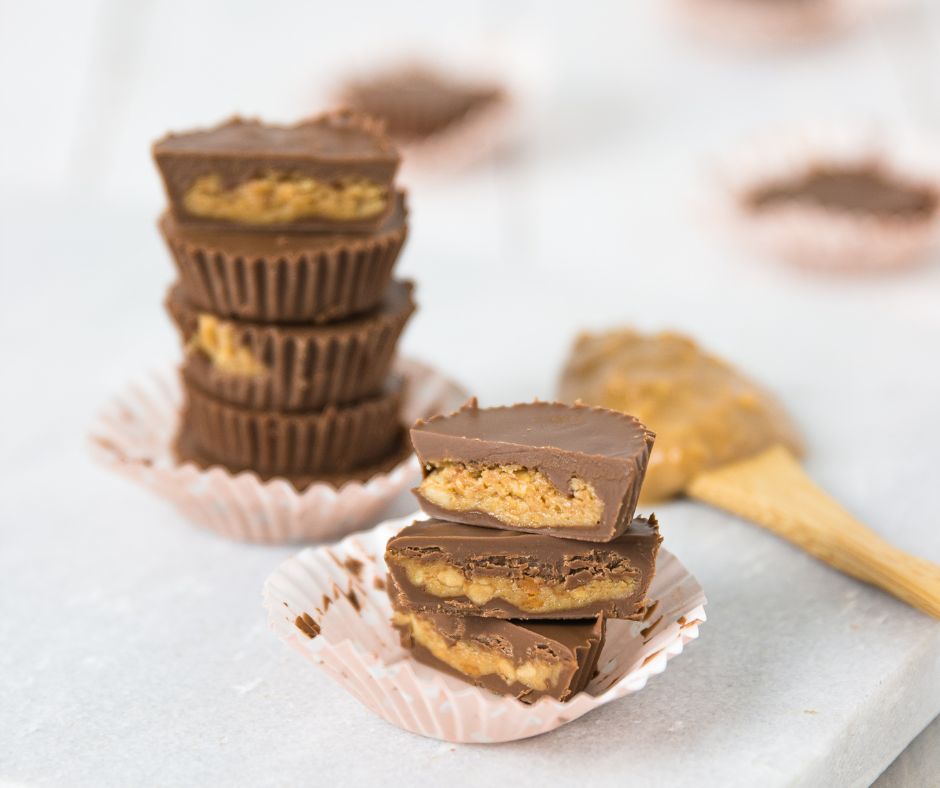
The chocolate sets into a firm shell around a smooth, slightly sweet filling. No oven needed, and the whole process takes under 20 minutes of actual work.
They’re the kind of treat you make for a holiday tray, a party spread, or just when you want something sweet worth keeping in the fridge (they hold up for two weeks and taste even better cold).
I’ll usually make a double batch and freeze half. If you’re into no-fuss chocolate treats.
If you like chocolate no-bake desserts, these are worth bookmarking too:
- Classic Nanaimo Bars
- Homemade Brown Butter Chocolate Chip Blondies
- The Easiest Chocolate Mousse You Will Ever Make (2 Ingredients)
- Oatmeal Balls With Peanut Butter and Chocolate Chips
Ingredients You’ll Need
The chocolate choice matters here. Semi-sweet or dark chocolate gives you a firmer, less sweet shell, which balances well against the sweetness of the peanut butter filling.
Milk chocolate works too but makes the whole thing noticeably sweeter overall. Use creamy peanut butter, not chunky and not natural-style (natural peanut butter is too oily and makes the filling greasy).
Ingredients
2 cups semi-sweet or dark chocolate chips
1 cup creamy peanut butter
1 cup powdered sugar, sifted
3 tablespoons unsalted butter, softened
½ teaspoon vanilla extract
¼ teaspoon salt
1 teaspoon coconut oil or vegetable shortening (optional, for smoother chocolate)
Directions
- Combine the chocolate chips and coconut oil (if using) in a microwave-safe bowl.
Microwave in 30-second increments, stirring well between each round, until fully melted and smooth.
Don’t overheat it. Two to three rounds is usually enough. Stir until glossy before moving on. - Line a standard 12-cup muffin tin with paper or silicone liners.
Spoon about 1 tablespoon of melted chocolate into each liner and use the back of the spoon to push it up the sides about halfway.
Getting an even coat on the first try takes a bit of patience (the chocolate wants to pool at the bottom), but by cup 4 or 5 you’ll have the feel for it.
Transfer the tin to the freezer for 10 minutes until the chocolate is fully set. - Beat together the peanut butter, softened butter, powdered sugar, vanilla extract, and salt until smooth and well combined.
The mixture should be thick but pliable. If it’s too stiff, add a teaspoon more peanut butter and mix again.
If it’s too soft, add a tablespoon more powdered sugar. You want it firm enough to press flat without sticking to your fingers. - Remove the tin from the freezer and check that the chocolate bases are fully set before you start filling.
Scoop about 1 tablespoon of the peanut butter filling into each cup and press it down gently with your fingers or the back of a spoon until flat and even.
Leave a small gap around the edge of each cup so the top chocolate layer can seal around the sides of the filling. - Spoon another tablespoon of melted chocolate over each cup to cover the peanut butter filling completely.
Gently tap the tin on the counter a couple of times to help the chocolate settle and smooth out across the top.
If the chocolate has cooled and thickened in the bowl, microwave it for 20 seconds and stir before continuing. - Place the tin in the refrigerator and chill for at least 30 minutes, or until the chocolate is fully firm to the touch.
Don’t rush this step. Underset chocolate is soft and messy when you peel the liner off.
Once fully set, peel back the liners and they’re ready to eat.
- Serve cold or let them sit at room temperature for 5 minutes if you prefer a slightly softer texture.
- Serve u0026 Enjoy!

Important Recipe Notes
- Use creamy peanut butter, not natural. Natural peanut butter separates and makes the filling oily. Standard creamy peanut butter (like Jif or Skippy) gives you a stable, smooth filling that holds its shape.
- Semi-sweet chocolate is the best call. It balances the sweetness of the filling without being bitter. Milk chocolate makes the whole thing quite sweet. Dark chocolate works well if you like a stronger contrast.
- Don’t skip the salt. A proper quarter teaspoon in the filling cuts through the sweetness and makes the peanut butter flavor much stronger. It’s a small thing that makes a noticeable difference.
- Storage: Keep finished cups in an airtight container in the fridge for up to 2 weeks. They also freeze well for up to 2 months. Thaw overnight in the fridge.
- Silicone liners make removal easier. Paper liners work fine, but silicone liners peel away cleanly without any risk of the chocolate cracking or sticking.
- Filling can be made ahead. The peanut butter filling keeps in the fridge for up to a week. Bring it to room temperature for a few minutes before pressing into the cups.
How to Serve, Store & Customize This Recipe
Serving: These are best served cold, straight from the fridge. The chocolate is firmer and the filling has a better texture when chilled. If you’re putting them out for guests, set them on a plate 10 minutes before serving so the chocolate isn’t rock-hard.
Storing: Keep in an airtight container in the refrigerator for up to 2 weeks. For longer storage, freeze in a single layer until solid, then transfer to a zip bag or sealed container. They thaw overnight in the fridge without any texture loss.
Customizing: Swap the peanut butter for almond butter if needed (the filling will be slightly softer but still works). Add a sprinkle of flaky sea salt on top of each cup before the chocolate sets for a salty-sweet finish. You can also press a whole roasted peanut into the top chocolate layer while it’s still wet.
Chocolate Peanut Butter Cups
Course: Recipes4
servings30
minutes40
minutes300
kcalIngredients
2 cups semi-sweet or dark chocolate chips
1 cup creamy peanut butter
1 cup powdered sugar, sifted
3 tablespoons unsalted butter, softened
½ teaspoon vanilla extract
¼ teaspoon salt
1 teaspoon coconut oil or vegetable shortening (optional, for smoother chocolate)
Directions
- Melt chocolate chips with coconut oil in the microwave in 30-second increments, stirring between each, until smooth.
- Spoon melted chocolate into lined cups, spread up the sides, and freeze for 10 minutes until set.
- Mix peanut butter, butter, powdered sugar, vanilla, and salt until smooth and thick enough to hold its shape.
- Press 1 tablespoon of peanut butter filling into each cup, leaving a gap around the edges.
- Cover each cup with melted chocolate, tap the tin to smooth, and reheat chocolate briefly if it has thickened.
- Refrigerate for at least 30 minutes until fully firm, then peel off the liners.
- Serve cold or at room temperature, and keep any leftovers in the fridge.