These cheesy Hawaiian roll pepperoni pizza sliders have quickly become a favorite in my kitchen. I tested a few batches to get the layers just right — soft rolls, melty cheese, and plenty of pepperoni — and now everyone asks for them on repeat.
They’re one of those easy recipes that disappear the moment they hit the table, especially during game day or family movie nights.
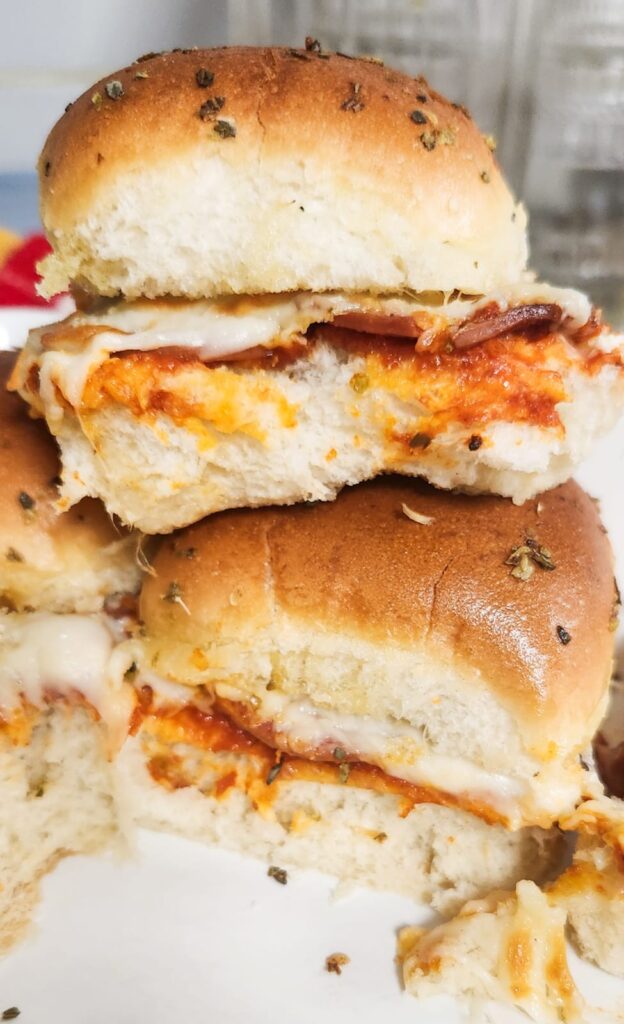
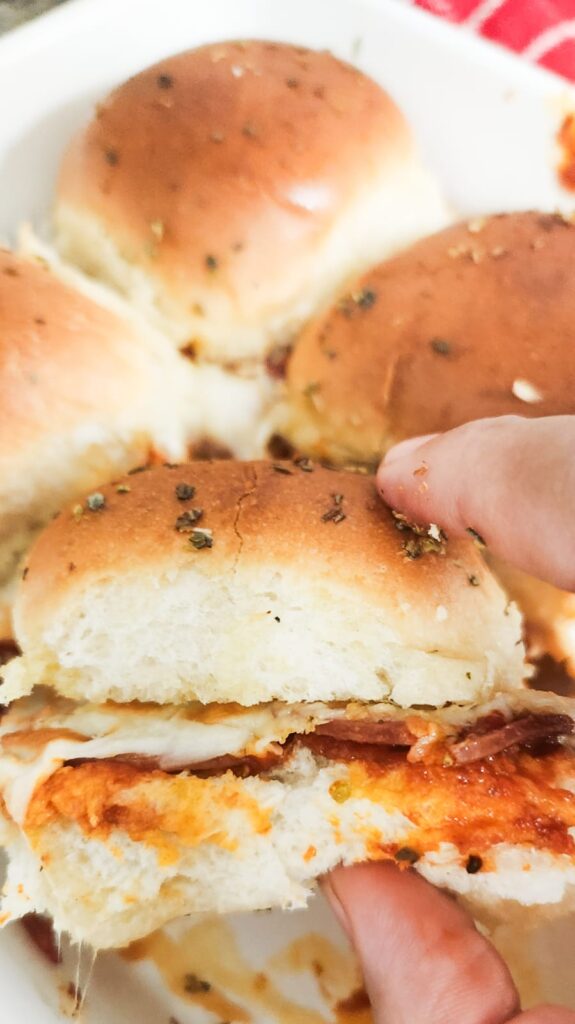
These pepperoni pizza sliders on Hawaiian rolls are cheesy, melty, and packed with classic pizza flavor in every bite.
I usually serve them warm with a simple salad or fresh fruit on the side to balance out the richness, which makes them feel just right for dinner too.
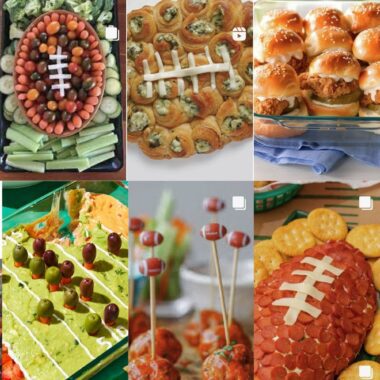
They’ve already earned a permanent spot on our football watch party menu, right alongside classic wings and dips.
Perfect for tailgate parties, family gatherings, or quick game day snacks, these sliders are my favorite because they’re effortless yet crowd-pleasing. I love how you can whip them up in minutes, serve them warm and gooey, and watch everyone go back for seconds.
You May Also Like
Air Fryer Chicken Tikka Sliders Buns
13 Best Simple Air Fryer Snacks
Ritz Pizza Cracker
Why You’ll Love These Sliders
- Super Easy: Only a few ingredients and minimal prep for maximum flavor.
- Crowd-Pleaser: Perfect for game day, tailgates, or parties, everyone goes back for seconds.
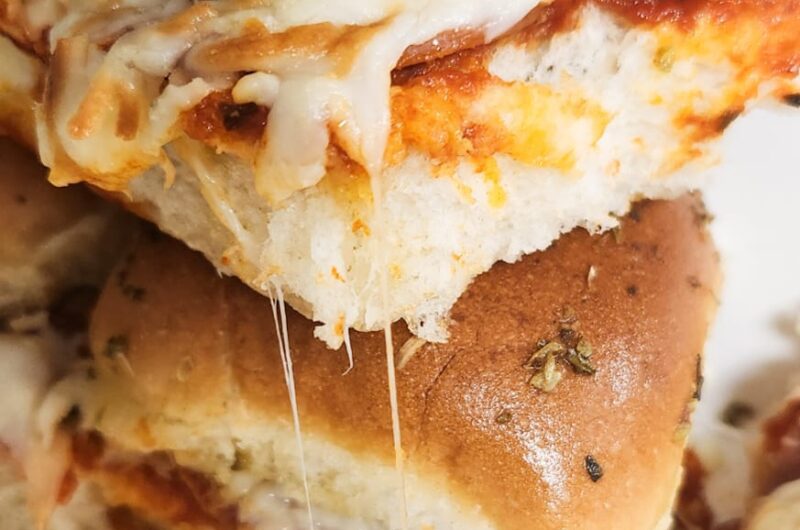
- Cheesy & Gooey: Melty cheese with pepperoni in every bite.
- Customizable: Add your favorite toppings, sauces, or herbs to make them your own.
- Quick to Bake: Ready in under 30 minutes, making hosting stress-free.
- Kid-Friendly: Fun, handheld snack that both kids and adults love.
Ingredients
9 fresh Hawaiian slider rolls or soft dinner rolls
¾ to 1 cup marinara or pizza sauce
~27 pepperoni slices (about 3 per slider)
1½ cups shredded pizza cheese
2 tbsp butter
½ tsp garlic powder
Dried basil (or oregano)
Step-by-Step Directions
- Set your oven to 350 °F (175 °C). Lightly grease a 9×9 baking dish or spray it with nonstick cooking spray to prevent sticking.
- Slice the slider buns horizontally, keeping the block intact for easy layering. Arrange the bottom halves snugly in the prepared baking pan.
- Spread a thin, even layer of marinara sauce over the bottom buns. Next, place the pepperoni slices on top, then sprinkle a generous amount of shredded cheese over each slider. Gently place the top halves of the rolls back onto the sliders. Avoid pressing down too hard so the layers stay fluffy and soft.

- Melt butter in a small pan and stir in garlic powder. Brush this mixture over the slider tops and sprinkle lightly with dried basil or oregano for extra flavor. Cover the pan with foil and bake for 20 minutes. This helps the cheese melt evenly and the ingredients blend together without drying out.
- Remove the foil and bake for an additional 3–5 minutes. This gives the tops a slight golden crisp while keeping the inside gooey and tender.
- Use a sharp knife to carefully cut between the sliders. Serve warm with extra marinara sauce or your favorite dipping sauce.


Nutritional Snapshot
| Component | Estimate* |
|---|---|
| Calories | ~150–180 |
| Fat | ~8–10 g |
| Carbohydrates | ~15–20 g |
| Protein | ~5–7 g |
| Sodium | Moderate to high (pepperoni, cheese) |
Ingredient Swaps
Roll Choices
If Hawaiian rolls aren’t available, soft dinner rolls or brioche sliders work perfectly, as long as the bread is soft and slightly toasts while baking.
Cheese Options
Use mozzarella, provolone, or a pizza-cheese blend; sharp cheddar adds an extra flavor kick.
Sauce Changes
Swap marinara for spicy arrabbiata, roasted garlic sauce, or even pesto for a fun twist.
Protein Add‑Ins
Layer in cooked sausage, salami, or chopped bacon for extra savory bites.
Herb Boost
Sprinkle fresh basil, oregano flakes, or a pinch of red pepper flakes to enhance flavor.
Topping Ideas
Meats: Pepperoni, cooked sausage, salami, bacon, turkey pepperoni
Cheeses: Mozzarella, provolone, cheddar, dairy-free cheese
Veggies: Bell peppers, mushrooms, onions, olives, zucchini
Extras: Pineapple, fresh basil, spinach, roasted garlic, red pepper flakes
The Vegan-Friendly Version
For a vegan-friendly version of these pepperoni pizza sliders, start with vegan slider buns or soft gluten-free rolls that are pillowy and sturdy enough to hold the layers. Replace the traditional cheese with dairy-free mozzarella shreds that melt just like the real thing, keeping the sliders gooey and satisfying.
Swap out pepperoni for plant-based slices or add sautéed vegetables such as mushrooms, bell peppers, or zucchini for extra flavor and texture.
Instead of butter, brush the tops with olive oil and garlic to create a golden, fragrant finish. You can also sprinkle nutritional yeast on top for a cheesy boost. Bake covered first to melt the cheese substitute, then uncover briefly to crisp the tops.
Serving and Pairing Ideas
Dipping Station
Set up a variety of sauces like ranch, garlic aioli, and extra marinara. Guests can mix and match for a fun, interactive snack experience.
Sides
Serve the sliders with crisp veggie sticks, coleslaw, or oven-baked potato wedges. These add freshness and balance the cheesy richness of the sliders.
Drinks
Pair the sliders with ice-cold sodas, lemonade, or beer. The refreshing drinks help cut through the saltiness and spice for a perfect bite.
Mini Variety Board
Add small bites like cheese sticks, mini meatballs, or bruschetta to complement the sliders. It creates a fuller, visually appealing spread for parties.
Make-Ahead and Prep Tips
Assemble Early
You can put the sliders together up to 6 hours in advance. Simply cover them tightly and refrigerate, then brush with the butter‑garlic mixture right before baking to keep the tops flavorful and golden.
Freezing for Later
For longer storage, fully assembled sliders can be wrapped tightly and frozen for 1–2 months. When ready to enjoy, thaw them overnight in the refrigerator to maintain texture and flavor.
Reheating Tips
To serve after refrigeration or freezing, bake the sliders covered at 325 °F until warmed through, then uncover for a few minutes to crisp the tops. This keeps them fresh, gooey, and delicious.
Tips for the Perfect Sliders
- Slice the buns so the bottom half is slightly thicker. This helps support all the toppings and keeps the sliders from getting messy.
- If your slider buns come in a connected pack, don’t pull them apart before slicing. This helps the sliders hold their shape and keeps ingredients neatly inside.
- Spread pizza sauce lightly. Too much can make the buns soggy and weigh down the sliders.
Frequently Asked Questions
Q: Can I make sliders smaller or larger?
A: Yes! Adjust the number of rolls or slice each roll differently to create mini or jumbo sliders.
Q: Can I use store-bought pizza sauce?
A: Absolutely! Just spread lightly to prevent soggy buns.
Q: Can I prep the sliders for a freezer-friendly meal?
A: Yes, fully assemble, wrap tightly, and freeze up to 2 months. Thaw overnight before baking.
Q: Do I need to cover the sliders while baking?
A: Covering helps melt the cheese evenly; uncover at the end for a golden, slightly crispy top.
Q: Can these be made vegetarian?
A: Definitely! Skip the pepperoni and add veggies or plant-based proteins for a vegetarian-friendly version.
Q: Can I add more cheese than listed?
A: Yes, extra cheese works fine, just keep the sauce light to avoid soggy buns.
Pepperoni Pizza Sliders 4 Ingredients
Course: Appetizers9
servings10
minutes25
minutes35
minutesIngredients
9 slider buns (Hawaiian or soft dinner rolls)
¾–1 cup marinara or pizza sauce
27 pepperoni slices
1½ cups shredded mozzarella or cheese blend
2 tbsp butter, melted
½ tsp garlic powder
Dried basil or oregano, for topping
Directions
- Preheat your oven to 350°F (175°C). Lightly grease a 9×9 baking pan with butter or nonstick spray to prevent sticking.
- Slice the slider buns horizontally, keeping the block intact if possible. Arrange the bottom halves snugly in the prepared pan.
- Spread a thin layer of marinara sauce over the bottom buns. Add the pepperoni slices, then sprinkle evenly with shredded cheese.
- Place the top halves of the buns back onto the sliders gently. Brush the tops with melted butter mixed with garlic, then sprinkle with dried basil or oregano.
- Cover the pan with foil and bake for 20 minutes. This helps the cheese melt evenly and the sliders stay soft.
- Remove the foil and bake for an additional 3–5 minutes. This gives the slider tops a light golden crisp while keeping the insides gooey.
- Use a sharp knife to carefully cut between the sliders. Serve warm, ideally with extra sauce for dipping.
Notes
- For extra flavor, lightly toast the buns in the oven before layering to add a subtle crunch.
- Try layering the cheese under and over the pepperoni for an evenly gooey bite in every slider.
- Use room-temperature butter for the garlic brush so it spreads evenly and absorbs into the buns.
- Sprinkle a pinch of red pepper flakes or smoked paprika on top before baking for a slight kick.
- For a crispy bottom, line the pan with parchment paper or lightly toast the bottom buns before assembling.

