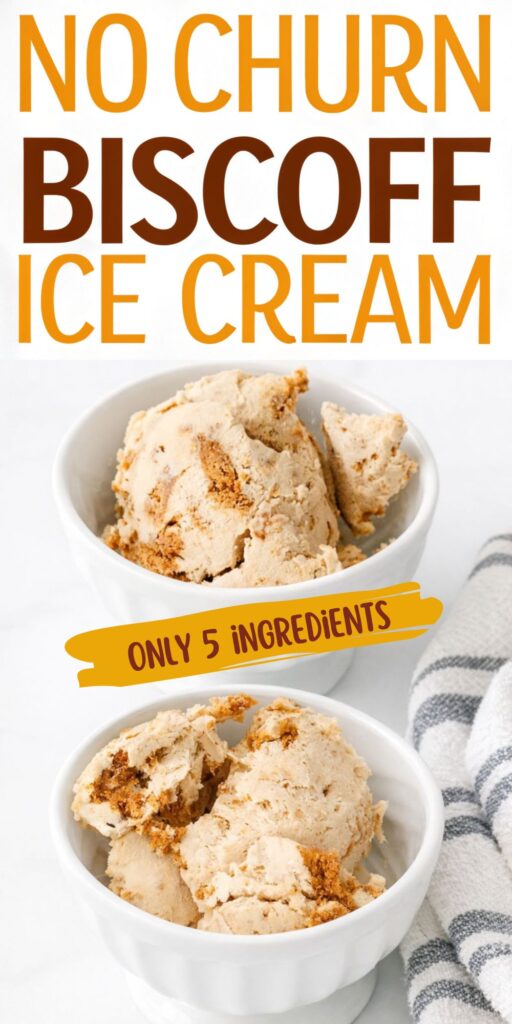
Craving a gourmet dessert without the effort? This homemade no-churn Biscoff ice cream is the ultimate hack for cookie lovers.
Made with just 5 simple ingredients, it is incredibly creamy, velvety, and packed with that iconic caramelized cookie butter flavor.
The best part? You don’t need an expensive ice cream maker to get professional results at home.
This eggless, no-fuss recipe takes only 10 minutes of prep. By combining fluffy whipped cream with Lotus Biscoff spread, you create a soft-serve texture that freezes into the perfect scoop.
It’s the ideal individual treat for a hot summer day or a show-stopping party dessert that guests will think you bought from an artisanal shop.
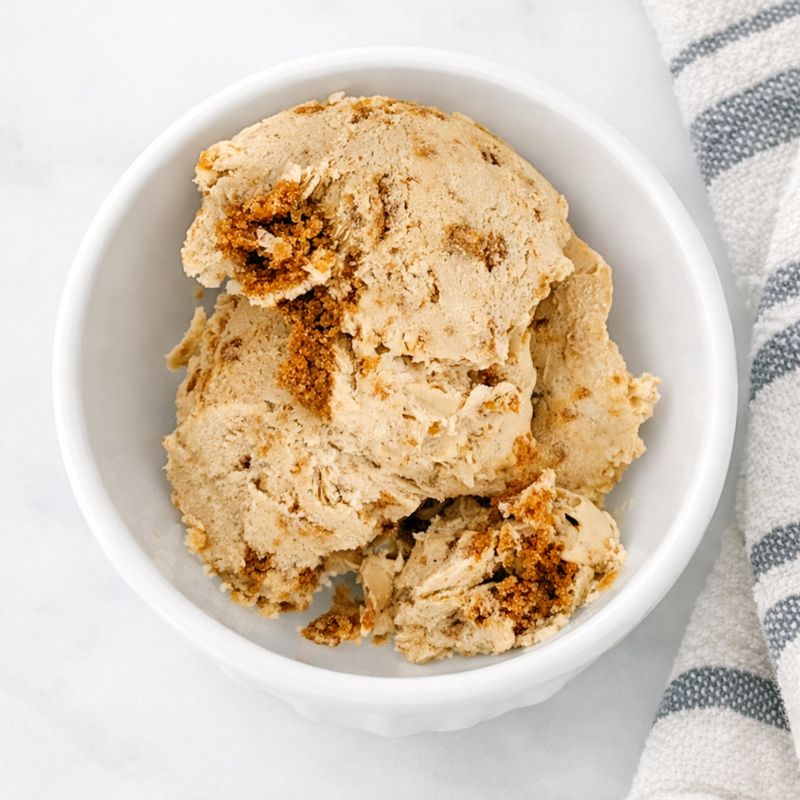
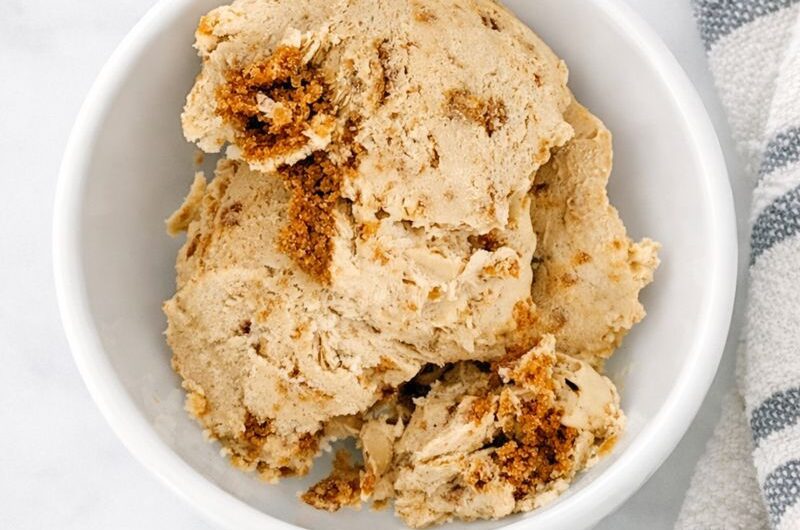
If you love the crunchy biscuit bits or the smooth, spiced swirls, this homemade frozen treat is a total crowd-pleaser.
Ingredients You'll Need
One tin of condensed milk
500 ml cold double cream
Half teaspoon vanilla
200 g Biscoff biscuits
200 g Biscoff spread
Step-by-Step Guide to Make No Churn Biscoff Ice Cream
- Place the Biscoff biscuits in a zip-lock bag and crush them using a rolling pin until you get small crumbs. You can also break them by hand or use a food processor if you prefer a finer texture. Measure out about 50g of the crushed biscuits and keep them aside for topping later.
- In a large mixing bowl, add the cold cream, condensed milk, vanilla extract, and Biscoff spread. Using a whisk or electric mixer, beat the mixture until it becomes thick and creamy. You are looking for soft peaks, which means the cream holds its shape but is still smooth and fluffy. This step gives the ice cream its rich, airy texture.

- Now gently fold the remaining crushed biscuits into the creamy mixture. Use a spatula and mix slowly so the cream stays light and fluffy. Make sure the biscuit pieces are evenly spread throughout the mixture for consistent flavor in every scoop.
- Pour the ice cream mixture into a loaf tin or freezer-safe container. Smooth the top using a spatula. Sprinkle the reserved biscuit crumbs evenly over the surface and lightly press them in so they stick once frozen.
- Cover the tin tightly with cling wrap or a lid to prevent ice crystals. Place it in the freezer and freeze for at least 6 hours or overnight until fully firm. Before serving, let the ice cream sit at room temperature for 5–10 minutes to soften slightly. Scoop and enjoy every creamy, crunchy bite.

Chef’s Tips for Perfect Biscoff Ice Cream
Start with well-chilled cream
Cold cream whips faster and holds air better, giving the ice cream a smooth and creamy finish. Always chill the cream and mixing bowl before starting.
Use a mix of biscuit textures
Chop Biscoff biscuits into fine crumbs and slightly larger chunks. This creates a balanced texture with soft crunch in every spoonful.
Whip for lightness
A hand mixer or stand mixer helps whip the cream evenly and adds air. This step prevents the ice cream from becoming dense or heavy.
Fold gently by hand
Once whipped, fold the biscuit pieces in slowly using a spatula. Gentle mixing keeps the ice cream light and prevents it from losing volume.
Choose real vanilla extract
Fresh vanilla extract adds depth and warmth to the flavor. It blends naturally with the caramel notes of Biscoff.
Seal before freezing
Cover the container tightly with a lid or plastic wrap. This protects the ice cream from freezer odors and keeps the taste clean and fresh.
What It Offers – Nutritional Value
| Nutrient | Amount (per serving) |
|---|---|
| Calories | 320–350 kcal |
| Carbohydrates | 30–35 g |
| Sugar | 22–25 g |
| Fat | 20–22 g |
| Saturated Fat | 12–14 g |
| Protein | 4–5 g |
| Fiber | 1–2 g |
| Sodium | 120–150 mg |
Note: Values may change based on portion size and ingredient brands used.
Creative Substitutions That Still Taste Great
- Alternative Biscuits for Crunch
No Biscoff biscuits on hand? Crunchy graham crackers, cinnamon cookies, or speculoos cookies make excellent substitutes. Chop them into a mix of fine crumbs and larger pieces to maintain that satisfying bite in every spoonful. - Swapping the Spread
If you don’t have Biscoff spread, creamy peanut butter or other cookie butters work well. While the flavor shifts slightly, these spreads still provide a rich, velvety texture that blends beautifully into the ice cream. - Flavor Variations
Experiment with different extracts to change the flavor profile. Almond extract, for instance, adds a subtle nutty aroma, while vanilla can be swapped for maple or hazelnut extract for a unique twist. - Dairy-Free Options
For a vegan or dairy-free version, replace double cream with full-fat coconut cream. Keep the sweetened condensed milk the same to ensure the ice cream maintains a smooth, creamy texture that freezes perfectly.
Kids-Friendly Version – Easy Help At Home
Making Biscoff ice cream can be a fun activity for kids! Younger children can crush biscuits in a sealed bag using a rolling pin or even a small bottle. They can also help measure ingredients like condensed milk or cream with supervision, turning them into little chefs.
Let them mix the cookie crumbs into the creamy base with a spatula, this is a safe and enjoyable way to get them involved. They can also help sprinkle extra crumbs on top before freezing, giving the ice cream a fun, crunchy finish. Teach them to scoop gently and spread the mixture evenly in the container. Just make sure an adult handles the mixer, oven, or freezer steps for safety.
This hands-on approach makes the kitchen lively and helps kids feel proud of what they made. It’s perfect for birthdays, weekend treats, or school-free days—and even picky eaters love tasting the results of their own work!
How to Serve Your Biscoff Ice Cream?
– Soften for Perfect Scoops
Take the ice cream out of the freezer about 5–10 minutes before serving. This softens it slightly, making it easier to scoop and giving a creamier texture on the tongue. Avoid leaving it out too long, or it may melt too much.
– Choose Your Serving Style
You can serve the ice cream in bowls, cones, small cups, or even dessert glasses. For a fun twist, layer scoops in a glass with cookie crumbs or a swirl of Biscoff spread for a parfait-style treat.
– Add Toppings for Extra Flavor
Sprinkle extra crushed Biscoff biscuits on top for crunch. Drizzle chocolate sauce, caramel, or a little honey for added sweetness. Fresh fruit like berries or banana slices can balance the richness and make it look colorful.
– Pair with Other Desserts
Serve alongside warm brownies, chocolate cake, cookies, or even pancakes. The contrast between warm and cold desserts creates a luxurious texture and flavor experience.
– Presentation Tips
Use a small ice cream scoop to create uniform balls. Sprinkle with a few whole biscuits or a dusting of cinnamon for a polished look. For parties, serve in mini bowls with colorful toppings to make it visually appealing for kids and adults alike.
These extra touches make serving your Biscoff ice cream both fun and impressive, whether it’s for a casual family treat or a special occasion.
Storage Tips for Freezing and Keeping Biscoff Ice Cream Fresh
1. Choose the Right Container
Use an airtight container to prevent freezer odors from affecting the ice cream. A sturdy container with a tight-fitting lid works best to maintain flavor and texture.
2. Prevent Ice Crystals
To keep the ice cream smooth, press a layer of cling film directly onto the surface before sealing the container. This minimizes air exposure and reduces ice crystal formation.
3. Optimal Freezing Time
Biscoff ice cream stays fresh for about 3–4 weeks in the freezer. For the best taste and texture, enjoy it within this period—but honestly, it rarely lasts that long!
4. Keep It Scoopable
Store the ice cream at a consistent, cold temperature. Between servings, keep it in the back of the freezer rather than the door to prevent softening and refreezing, which can affect creaminess.
Why This Recipe Is Perfect for Beginners?
- No special equipment needed: You don’t need an ice cream machine or baking tools, just basic kitchen utensils.
- Simple steps: The process is easy: mix, fold, and freeze. Perfect for first-time cooks or busy afternoons.
- Few ingredients: Using just a handful of ingredients makes it approachable for kids and adults alike.
- Delicious result: The final ice cream is sweet, creamy, and full of Biscoff cookie flavor, like a café treat made at home.
Frequently Asked Questions
1. Do I need an ice cream machine to make this?
No! This recipe is called “no-churn” because you don’t need any special machines. Just mix the ingredients, fold in the crushed Biscoff biscuits, and freeze.
2. Can I make this dairy-free?
Yes! You can use coconut cream or another plant-based cream instead of double cream. Make sure to use sweetened condensed milk alternatives if you want it fully dairy-free.
3. How long should I freeze the ice cream?
Freeze it for at least 6 hours or overnight. For best texture, let it sit at room temperature for a few minutes before scooping.
4. Can kids help make this recipe?
Absolutely! Kids can crush the biscuits, measure ingredients, and fold them into the cream. Just make sure an adult handles the mixer and freezer steps.
5. How can I add extra flavors or mix-ins?
You can swirl in chocolate sauce, caramel, or peanut butter. Adding chocolate chips, cookie chunks, or nuts also works. Fold them in gently so the ice cream stays creamy.
6. Can I store leftovers?
Yes, keep the ice cream in a freezer-safe container with a lid or cling film pressed directly on top. It stays fresh for up to 3–4 weeks.
7. Why is my ice cream too soft or too hard?
If it’s too soft, it may need more freezing time. If it’s too hard, let it sit at room temperature for 5–10 minutes before scooping. Using cold cream when mixing helps get the right texture.
No Churn Biscoff Ice Cream – 5 Ingredients
Course: Dessert8
servings15
minutes6
hours6
hours15
minutesIngredients
1 tin (395g) sweetened condensed milk
500 ml cold double cream
½ tsp vanilla extract (optional)
200 g Biscoff biscuits, crushed (reserve 50 g for topping)
200 g Biscoff spread
Directions
- Start by crushing the Biscoff biscuits. Set aside about 50 grams for topping later, and keep the rest ready for folding into the ice cream. Make sure the crumbs are a mix of fine and slightly larger pieces to give the ice cream a nice texture.
- In a large mixing bowl, combine the cold cream, sweetened condensed milk, vanilla extract, and Biscoff spread. Using a hand or stand mixer, whisk the mixture until soft peaks form. The cream should be thick, airy, and smooth, creating the perfect base for your ice cream.
- Once the cream is whipped, gently fold in the remaining crushed biscuits using a spatula. Mix carefully so the airiness of the cream is preserved while distributing the biscuit pieces evenly throughout.
- Pour the mixture into a loaf tin or any freezer-safe container. Evenly sprinkle the reserved biscuit crumbs on top to add a crunchy finish.
- Cover the container tightly and place it in the freezer. Freeze for at least six hours, or overnight, until fully set. When ready to serve, let the ice cream sit at room temperature for 3–5 minutes to soften slightly, making it easier to scoop and enjoy.
Notes
- Keep your cream, bowl, and utensils cold. Cold cream whips faster and creates a smoother, airier texture.
- Chop the biscuits into both fine crumbs and slightly larger chunks. This ensures every bite has little bursts of crunch.
- After whipping, fold the biscuit pieces by hand instead of mixing at high speed. This keeps the ice cream light and fluffy.
- Press cling film directly onto the surface before sealing the container. This keeps the ice cream smooth and creamy.