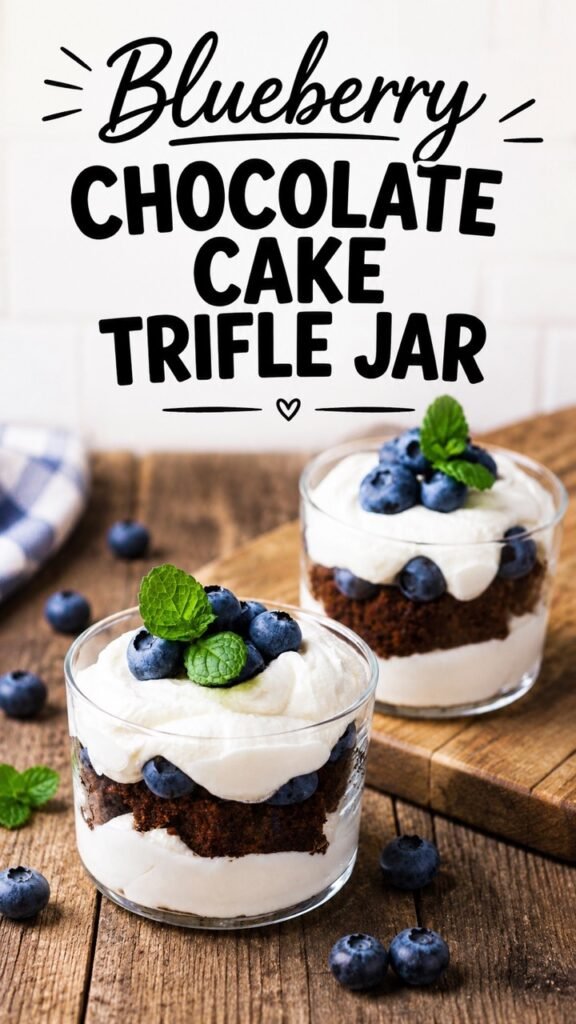
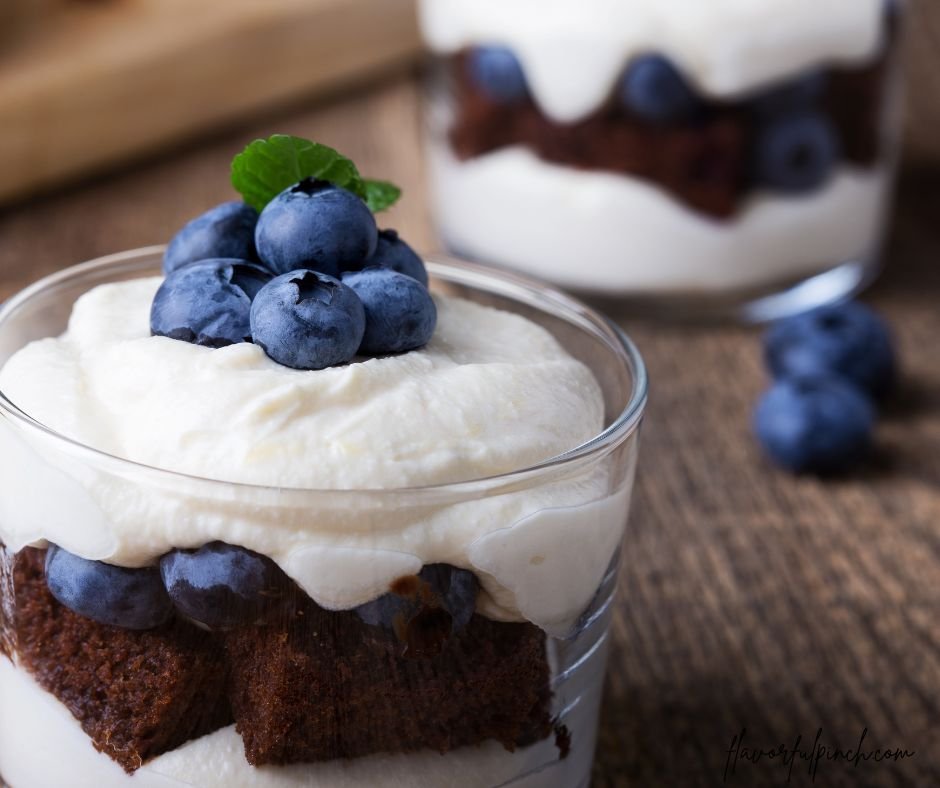
This Blueberry Chocolate Cake Trifle Jar is a rich, fruity, and easy single-serve dessert made with layers of soft chocolate cake, juicy blueberries, and creamy filling.
They look impressive but come together fast, especially if you start with store-bought chocolate cake.
These mini trifle jars are great for parties, brunch, baby showers, dessert tables, summer gatherings, or make-ahead treats. The mix of chocolate cake and blueberries gives every spoonful a sweet, fresh, and creamy bite.
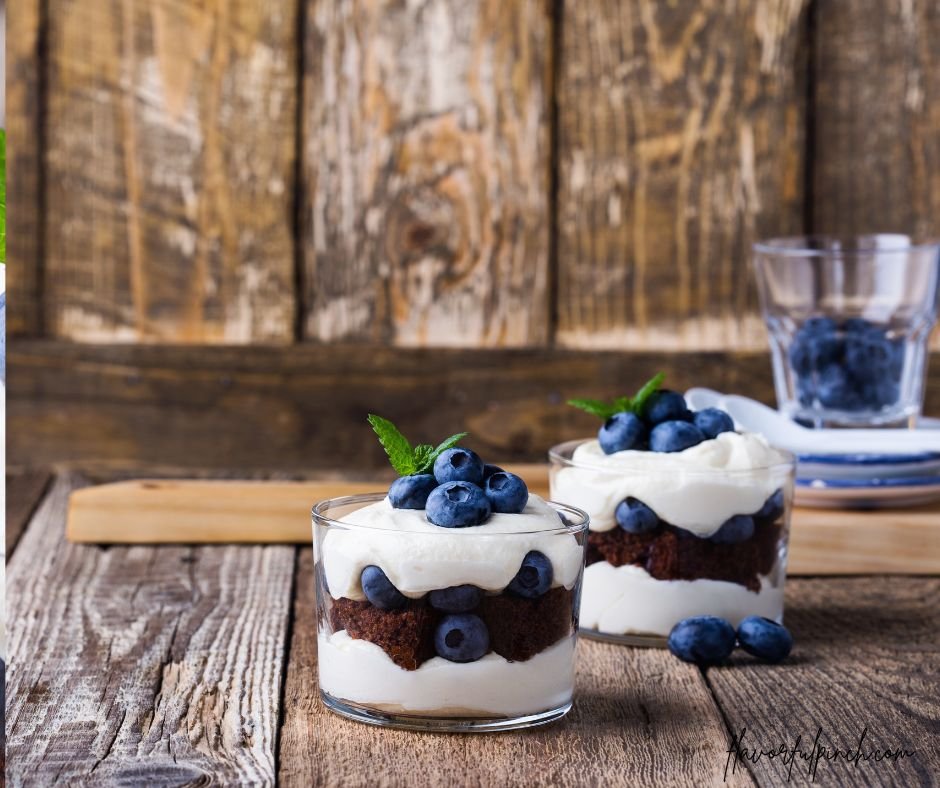
If you love easy no-fuss, nobake desserts, this blueberry chocolate trifle is a fun recipe to keep on hand. Serve it chilled in small jars or cups for a pretty individual dessert that guests can grab and enjoy.
If you’re into easy layered and chocolate desserts, these are worth saving:
- Whipped Greek Yogurt Chocolate Mousse (3-ingredients!)
- Chocolate Peanut Butter Cups
- Lemon Blueberry Cream Cheese Danish With Puff Pastry
- The Easiest Chocolate Mousse You Will Ever Make (2 Ingredients)
Ingredients You’ll Need
Store-bought chocolate cake works perfectly here, which cuts the prep time significantly.
Day-old cake actually layers better than fresh-baked, since it holds its shape.
Ingredients
1 lb chocolate cake, cut or crumbled into 1-inch pieces (store-bought or homemade)
2 cups fresh blueberries (plus extra for garnish)
2 cups heavy whipping cream (cold)
3 tablespoons powdered sugar
1 teaspoon vanilla extract
Chocolate shavings or mini chocolate chips for garnish (optional)
Directions
- Choose ripe, sweet blueberries that are firm and juicy. Wash them well and dry them completely before layering.
Dry the blueberries before assembling. Extra water on the berries can make the cream loose and the cake soggy. - Whip the heavy cream with the powdered sugar and vanilla extract until stiff peaks form.
Use a hand mixer on medium-high speed. It takes about 3 to 4 minutes. Don’t overwhip or the cream will turn grainy.
Keep the whipped cream in the fridge until you’re ready to assemble. - Start building the layers. Add a handful of chocolate cake pieces to the bottom of each glass or jar, pressing them down lightly to fit.
Spoon about 2 tablespoons of blueberries over the cake layer. Let it settle into the gaps.
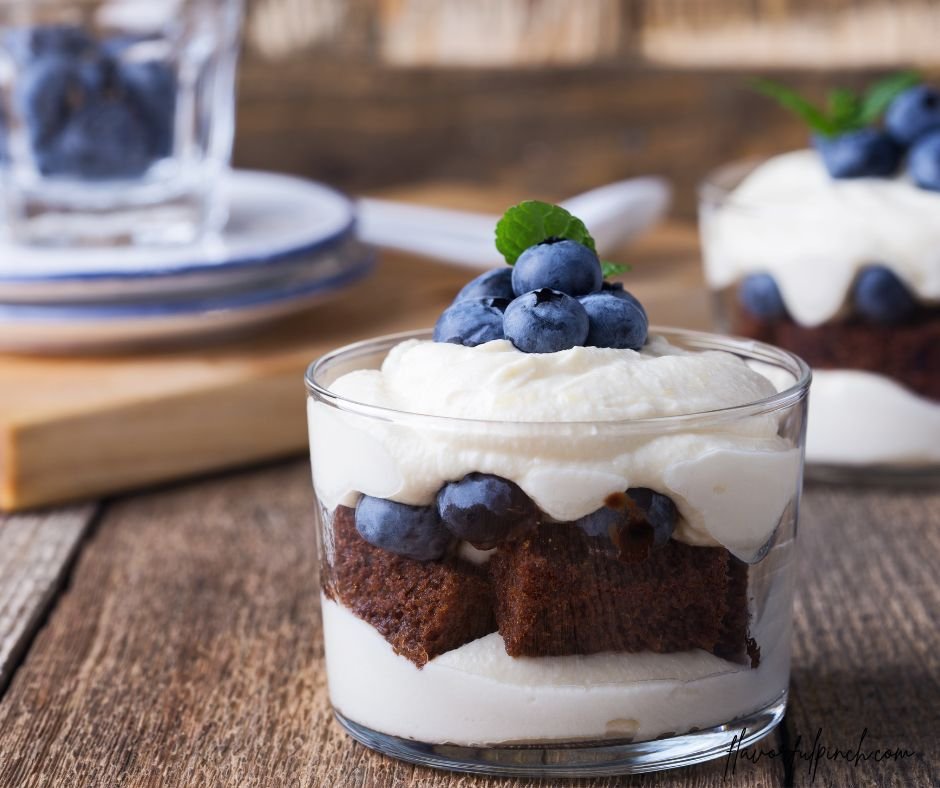
Add a generous layer of whipped cream over the blueberries using a spoon or piping bag. - Repeat the layers: more cake pieces, more blueberries, and finish with a final layer of whipped cream on top.
Tap the glasses gently on the counter to settle the layers and remove any air pockets.
Top each glass with a few fresh blueberries and a pinch of chocolate shavings or mini chips if you’d like. - Refrigerate the assembled jars for at least 30 minutes before serving. This lets the layers settle and the cake absorb a little of the blueberry juice.
Don’t assemble more than 4 hours ahead. After that, the cake pieces absorb too much liquid and the texture changes.
- Serve u0026 Enjoy! Serve cold, straight from the fridge, and enjoy.

Important Recipe Notes
- Day-old cake layers better. Fresh-baked cake is softer and absorbs the blueberry juices too quickly, turning soggy. Day-old or store-bought chocolate cake holds its shape much better in layers.
- Assemble no more than 4 hours ahead. The longer the jars sit, the more liquid the cake pieces absorb. They still taste good, but the texture goes from soft to soggy past the 4-hour mark.
- Piping bag for cleaner layers. A piping bag fitted with a round or star tip gives you much neater whipped cream layers than a spoon, especially if you’re serving these to guests.
- Scale up easily. This recipe makes 4 to 6 jars depending on glass size. Double the blueberries and cream for a larger batch. The cake quantity stays the same as long as you adjust layers accordingly.
How to Serve, Store & Customize This Recipe
Serving:
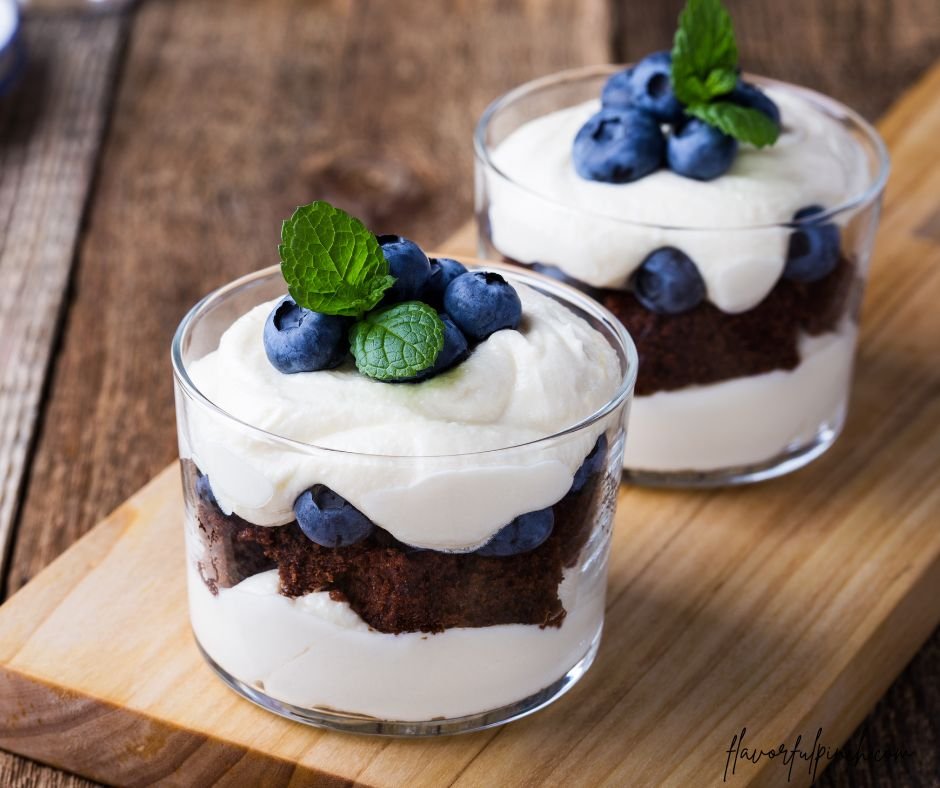
Serve straight from the fridge. A few fresh blueberries and a pinch of chocolate shavings on top make these look put-together without extra work. Clear glasses or mason jars show off the layers, which is most of the visual appeal here.
Storing:
Cover assembled jars with plastic wrap and refrigerate for up to 4 hours. The whipped cream holds reasonably well, but the cake continues to absorb liquid over time. These don’t freeze well.
Customizing:
Swap the blueberry for strawberry, raspberry, or mixed berry. Use brownie pieces instead of chocolate cake for a fudgier base.
Add a thin layer of cream cheese whipped with a little sugar between the blueberry and whipped cream for extra richness.
Blueberry Chocolate Cake Trifle Jar
Course: Recipes4
servings30
minutes40
minutes300
kcalIngredients
1 lb chocolate cake, cut or crumbled into 1-inch pieces (store-bought or homemade)
2 cups fresh blueberries (plus extra for garnish)
2 tablespoons granulated sugar
1 tablespoon fresh lemon juice
2 cups heavy whipping cream (cold)
3 tablespoons powdered sugar
1 teaspoon vanilla extract
Chocolate shavings or mini chocolate chips for garnish (optional)
Directions
- Choose ripe, sweet blueberries that are firm and juicy. Wash them well and dry them completely before layering.
- Whip cold heavy cream with powdered sugar and vanilla to stiff peaks, about 3 to 4 minutes on medium-high. Refrigerate until needed.
- Layer chocolate cake pieces in the bottom of each glass, spoon blueberry over, then add a layer of whipped cream.
- Repeat the layers, finishing with whipped cream on top. Garnish with fresh blueberries and chocolate shavings.
- Refrigerate for at least 30 minutes before serving. Best served within 4 hours of assembly.
- Serve cold and enjoy!
Notes
- You can use homemade chocolate cake, boxed cake mix, brownies, or leftover cake for this recipe.
- Do not assemble too far in advance if you want the cake layer to stay soft but not soggy. These are best made the same day or up to 1 day ahead.
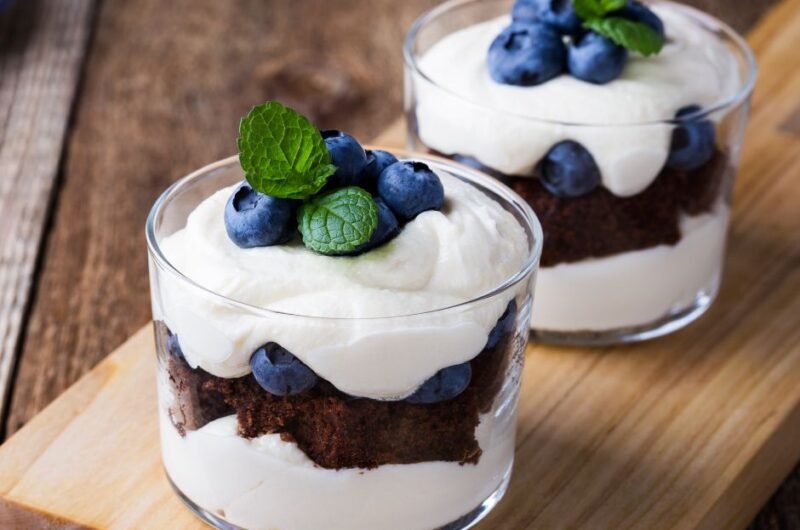
- For a prettier dessert table, use clear jars or small cups so the chocolate cake, cream, and blueberry layers show nicely.
- Dry the blueberries before assembling. Extra water on the berries can make the cream loose and the cake soggy.
- Cut the cake into small cubes. Smaller pieces are easier to layer and eat with a spoon, especially in mini jars or dessert cups.
- Use a piping bag for cleaner layers. A piping bag gives you neater whipped cream layers than a spoon, especially if you are serving these for parties, brunch, or dessert tables.