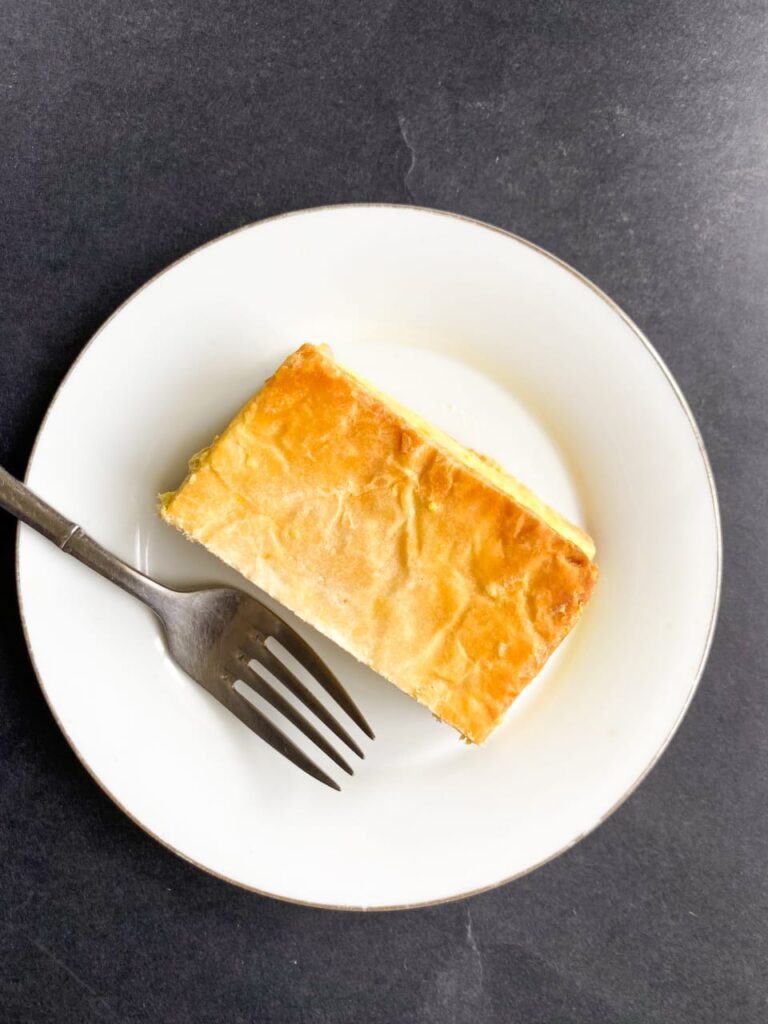
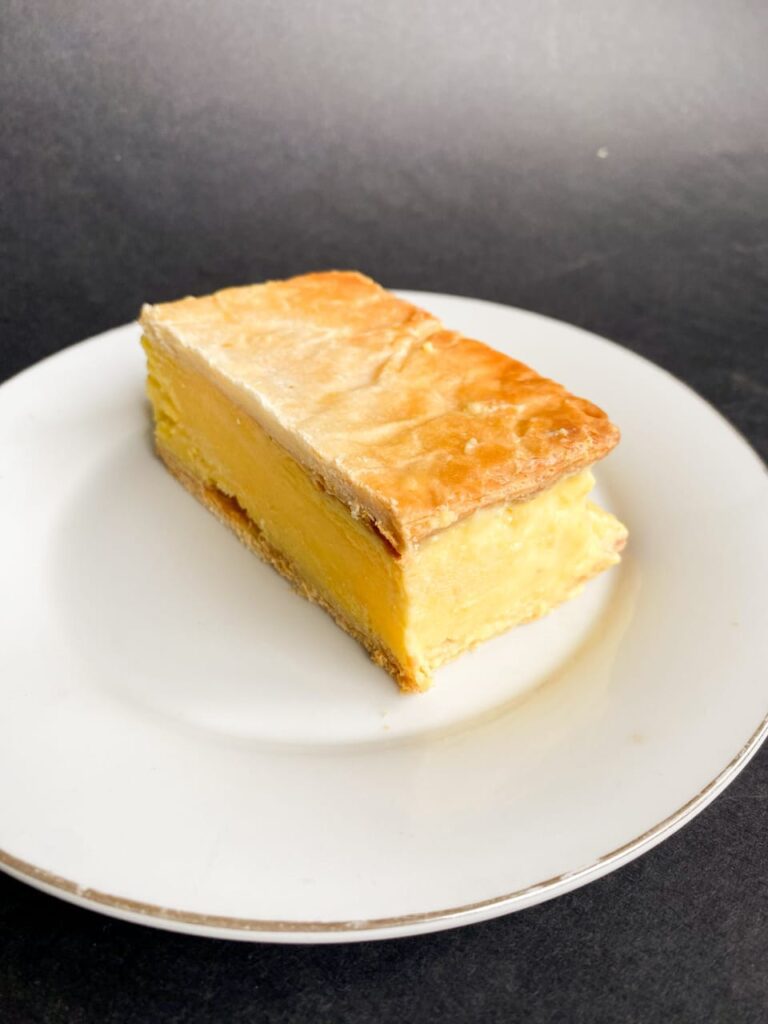
Vanilla Custard Cream Squares are a dessert that truly deserves all the hype. They’re a decadent treat in which layers of flaky puff pastry sandwich a luscious vanilla custard and whipped cream.
Yes, it might get a little messy to eat, but the incredible flavor and texture make it completely worth it.
This dessert is inspired by “kremsnite,” a popular pastry in Central and Eastern Europe, known for its creamy goodness and delicate layers.
My version simplifies the process with a quick vanilla custard and a touch of whipped cream, making it surprisingly easy to achieve this impressive dessert.

I will share with you all the dos and don’ts of this divine Vanilla Custard Cream Squares to ensure a perfect dessert for your special nights.
We’ll also explore some delicious variations, from adding fresh berries to incorporating different flavors into the custard. Let’s make this recipe a new favorite in your dessert repertoire.
So, grab your aprons and let’s get baking! These Vanilla Custard Cream Squares are a fluffy-puffy proof to the magic of combining simple ingredients to create something truly extraordinary. Trust me, the effort will be well worth the reward.
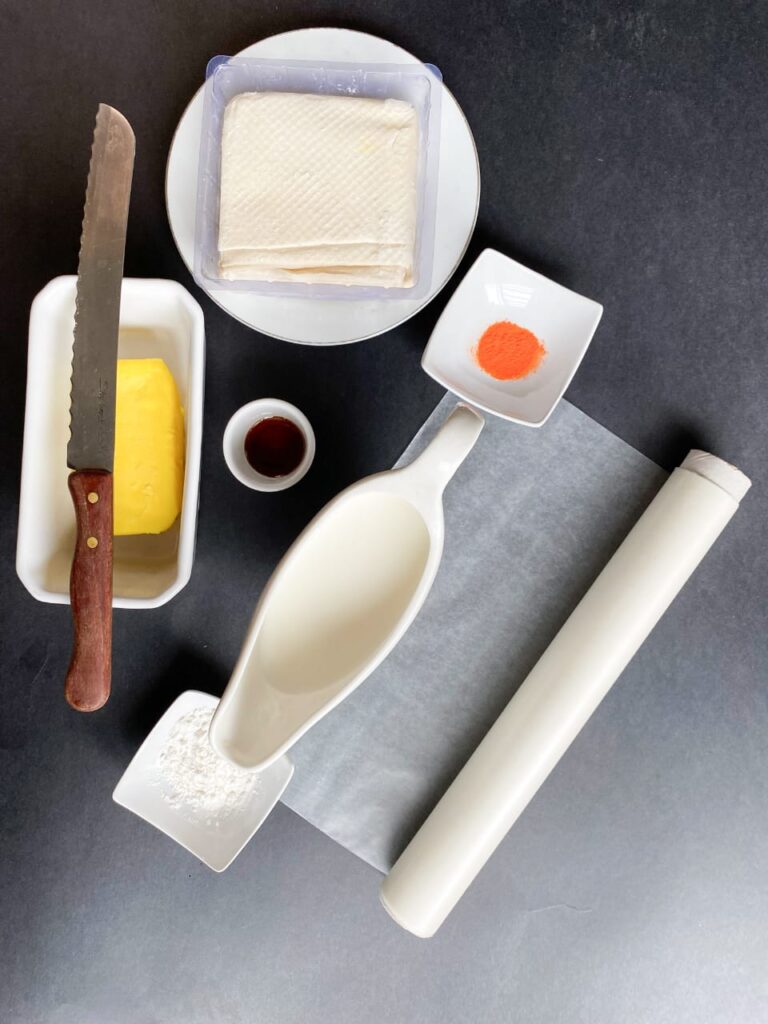
Ingredients
Puff Pastry – The Base
This is the base of the desert and will provide those delightful flaky layers. When I bake, I always race against time to keep the puff pastry cold. It won’t puff up as much in the oven if it gets too warm! Here’s a tip for you. Try keeping it in the freezer until the last minute before using it.
Whole Milk, Granulated Sugar, All-Purpose Flour – The Key Ingredients
These are the key ingredients in our custard. The milk and sugar will provide a sweet and creamy base, while the flour will help thicken it up. There’s a little bit of science at play here! The starches in the flour absorb the liquids and cook, creating a gel-like structure that thickens the custard.
Eggs
Eggs play a dual role in this recipe. The egg yolks will enrich the custard, while the egg whites will be whipped into the cream to create that light and airy whipped cream topping.
Vanilla Extract (Optional)
These flavorings add a touch of complexity to the custard. Pure vanilla extract is what I typically use, but you could also experiment with other extracts like almond or rum. The rum is optional, but it adds a hint of warmth and complexity that some people really enjoy.
Heavy Whipping Cream, Powdered Sugar
The heavy whipping cream whips up nice and thick, and the powdered sugar adds sweetness and a touch of stability. Fun fact: did you know that the air bubbles you whip into the cream are actually surrounded by a thin layer of fat from the cream? This fat layer helps to stabilize the bubbles and prevents the whipped cream from collapsing!
Recipe
I’m always up for a delicious challenge, and these Vanilla Custard Cream Squares definitely fit the bill. There were a few bumps along the road in my first attempt (who hasn’t overcooked custard, right?), but I learned some valuable lessons that I’m here to share with you.
Begin by preheating your oven to 350°F. This might seem obvious, but trust me, a cold oven will leave you with sad, deflated pastry squares.
We want them to rise gloriously. Next, we tackle the puff pastry. I used to think the thinner the better, but that just leads to a doughy mess. Resist the urge to be overly ambitious and keep it to a slightly thicker consistency.
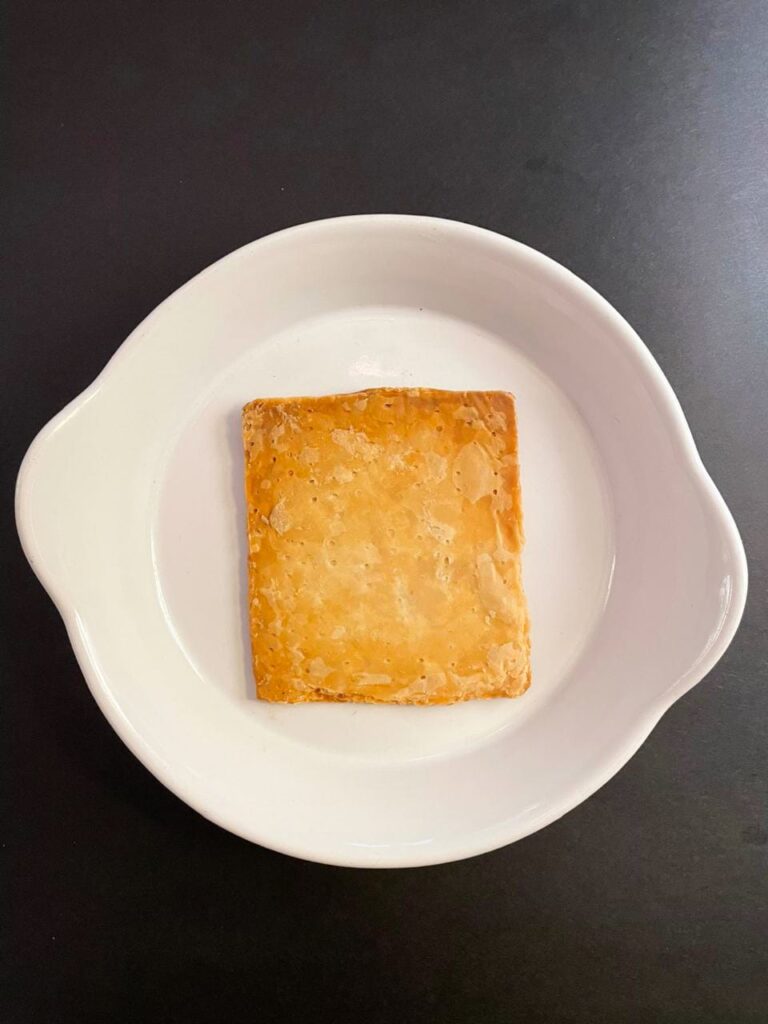
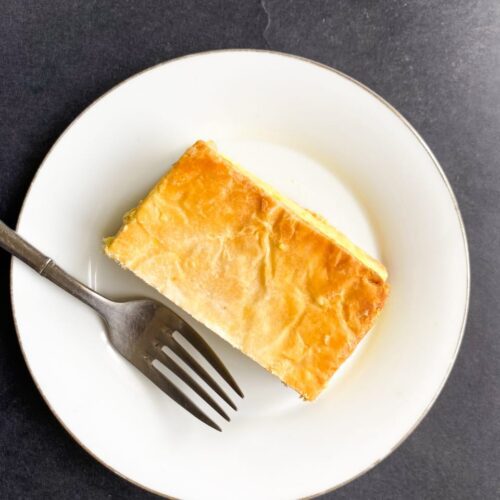
As the pastry bakes, watch in awe as it puffs up and transforms into these beautiful golden layers.
I initially went freehand to cut those squares after the baking, and let’s just say my squares looked more like abstract art than pastries. So grab a ruler and a sharp knife (a pizza cutter works too!) for nice, even squares. This will ensure your custard filling bakes evenly.
While the pastry bakes, let’s conquer the custard. Here’s where my first attempt went awry.
Whisking together the milk, sugar, flour, egg yolks, and vanilla extract seems simple enough, but I missed a crucial step, whisking vigorously! Lumpy custard is the enemy of a smooth and creamy filling. So, channel your inner whisk-wielding warrior and banish those lumps!
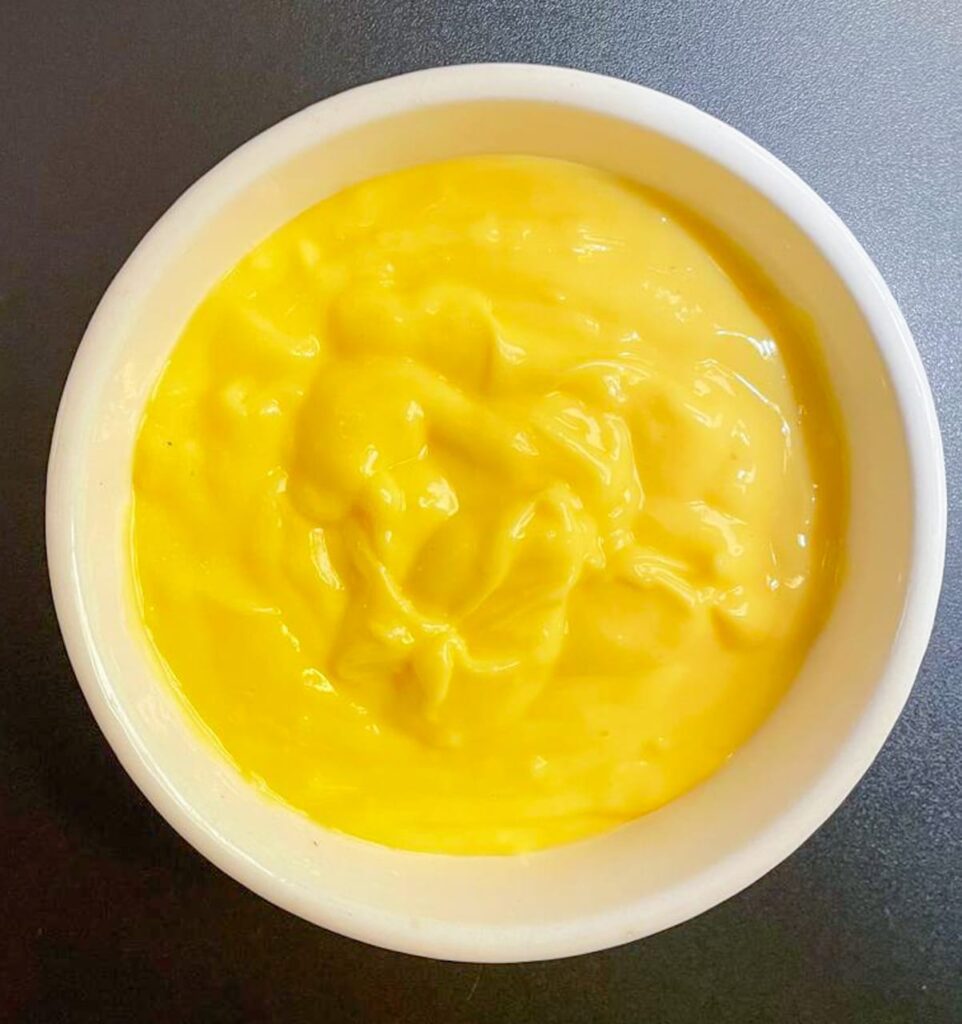
Once you’ve got a smooth mixture, cook it over medium heat. We want the custard to thicken nicely, but don’t let it boil. Now, let the custard cool completely without rushing.
I once tried assembling the squares with warm custard, and let’s just say the whipped cream became a melty mess. So, take a deep breath and let your custard chill patiently.
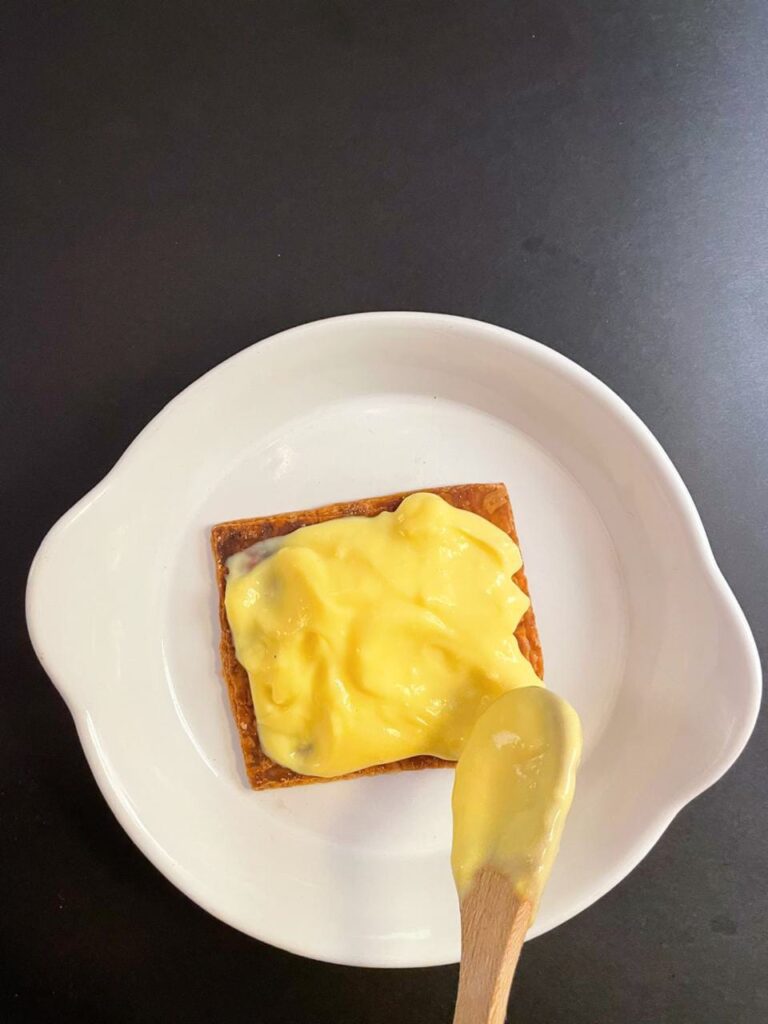
Finally, the moment we’ve all been waiting for, assembly! Spread that lovely cooled custard over your perfectly baked pastry squares. Then, comes the delightful dollop of whipped cream.
Now, layer those squares, pastry, custard, whipped cream, creating a beautiful tower of deliciousness.
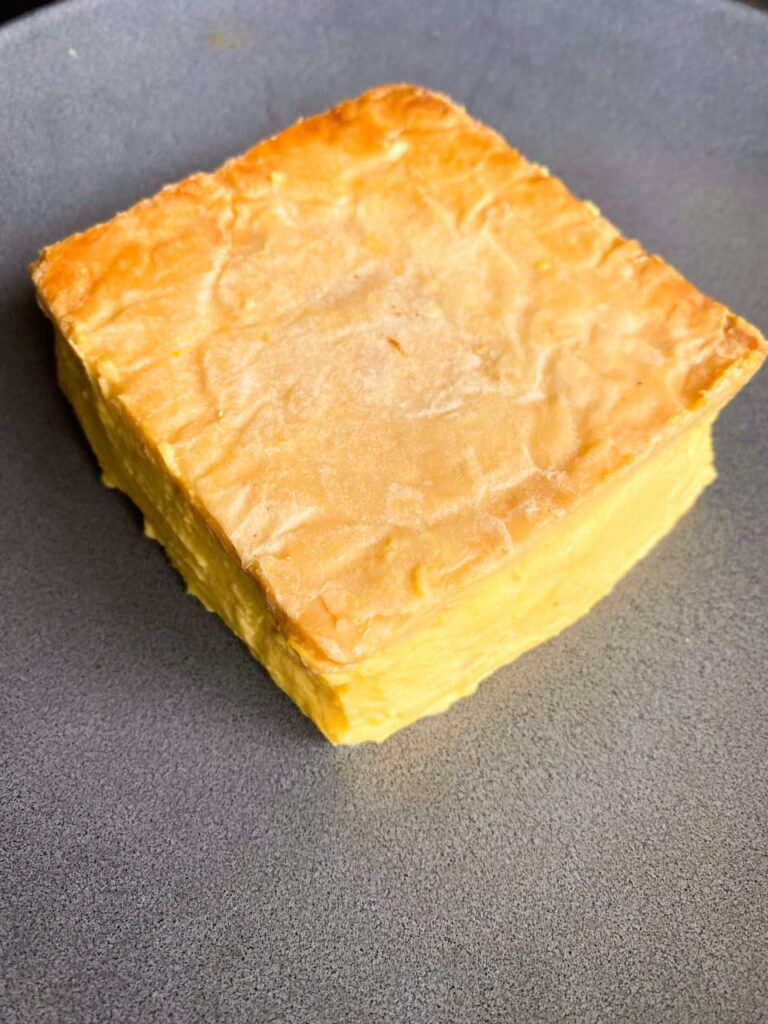
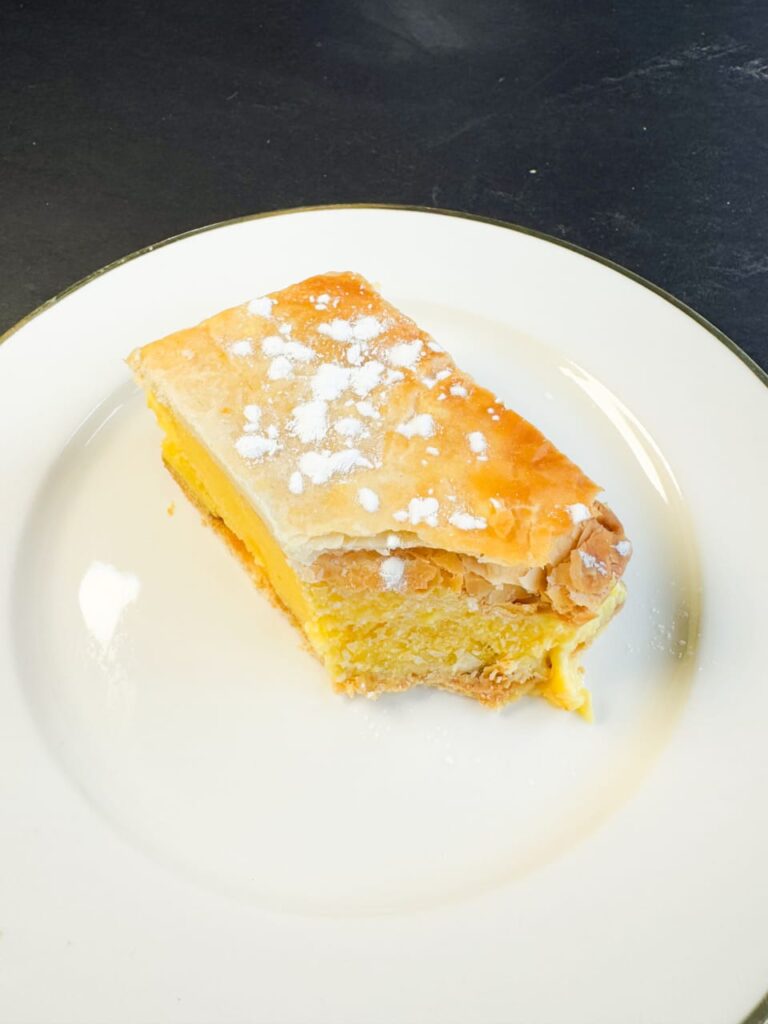
I like to finish mine with a dusting of powdered sugar, but that’s entirely up to you.
And voila!
The Cultural History Of This Dessert
Vanilla Custard Cream Squares have a fascinating history! I’ve always been curious about the origins of desserts, and it turns out these squares have deep roots in European culinary traditions.
I learned that France has a classic dessert called mille-feuille, which means “a thousand leaves” and features layers of puff pastry filled with pastry cream, sounds very similar to our custard squares, doesn’t it?
In Poland, they have kremówka, another traditional dessert that’s quite similar to ours, often enjoyed during special occasions.
The French, with their incredible pastry skills, and the Poles, with their rich culinary heritage, have both contributed to the deliciousness of these squares. The contrast between the light, flaky puff pastry, and the smooth, creamy custard is what makes them so irresistible.
Tips For The Best Side Dishes
Tip # 1 – Whipped Cream Tips
For a lighter-than-air whipped cream, make sure your cream is nice and cold before whipping. For extra stability, add a pinch of cream of tartar to the heavy cream before whipping.1 You can also use a stand mixer with the whisk attachment for faster and more consistent whipping.2
Tip # 2 – Custard Consistency
Aim for a custard that’s thick but still pourable. If it’s too thin, it won’t set properly and will ooze out the sides when you cut the squares. If it’s too thick, it will be difficult to spread and might crack the pastry.
Tip # 3 – Unique Flavors
Get creative with flavor infusions! Try adding a teaspoon of instant coffee to the custard for a mocha twist, or stir in a tablespoon of lemon zest for a refreshing citrus flavor.
FAQs
Why is my custard lumpy?
Lumps can form if you don’t whisk the custard constantly while cooking. Make sure to whisk vigorously and continuously to prevent lumps from forming.
Can I use store-bought puff pastry?
Absolutely! Store-bought puff pastry is a great time-saver and works perfectly for this recipe.
Can I make the custard ahead of time?
Yes, you can make the custard a day or two in advance. Store it in an airtight container in the refrigerator.
Vanilla Custard Cream Squares
Ingredients
- 1 sheet frozen puff pastry thawed
- 1 cup whole milk
- 1/2 cup granulated sugar
- 2 tablespoons cornstarch
- 2 large egg yolks
- 1 teaspoon pure vanilla extract
- 1 cup heavy whipping cream
- Powdered sugar for dusting (optional)
Instructions
Preheat the Oven and Prepare the Pastry:
- Preheat your oven to 400°F (200°C). Line a baking sheet with parchment paper.
- Unfold the thawed puff pastry sheet on a lightly floured surface. Gently roll it out into a slightly larger square, about 1/8 inch thick.
- Using a sharp knife or pizza cutter, cut the pastry into even squares. Aim for a size that pleases you, but keep in mind that larger squares will require more custard and whipped cream per layer.
Bake the Pastry Squares:
- Carefully transfer the pastry squares to the prepared baking sheet, leaving a little space between them for puffing.
- Using a fork, gently prick the center of each pastry square a few times. This helps prevent them from puffing up too much in the middle.
- Bake the pastry squares for 20-25 minutes, or until golden brown and puffed. Remove them from the oven and let them cool completely on a wire rack.
Make the Vanilla Custard:
- In a medium saucepan, whisk together the milk, sugar, and cornstarch until smooth.
- Heat the mixture over medium heat, whisking constantly, until it thickens and begins to bubble.
- In a small bowl, whisk together the egg yolks. Slowly whisk the hot milk mixture into the egg yolks to temper them. Be sure to whisk constantly to avoid curdling the eggs.
- Once combined, return the mixture to the saucepan and cook over medium heat, whisking constantly, for another 1-2 minutes until the custard thickens significantly. The custard should coat the back of a spoon.
- Remove the custard from the heat and stir in the vanilla extract. Pour the custard into a bowl or container and press plastic wrap directly onto the surface to prevent a skin from forming. Let the custard cool completely at room temperature, then refrigerate for at least 1 hour.
Whip the Cream:
- In a chilled bowl, use an electric mixer to whip the heavy cream until stiff peaks form. Be careful not to over-whip, as the cream can become clumpy.
Assemble the Squares:
- Once the custard is chilled and the pastry squares are cool, it’s time to assemble!
- Place a pastry square on a plate. Spread a generous amount of the chilled custard over the top, leaving a small border around the edge.
- Dollop a heaping spoonful of whipped cream onto the custard layer.
- Gently place another pastry square on top, creating a sandwich. Repeat this process with the remaining pastry squares, custard, and whipped cream.
Finishing Touches (Optional):
- Dust the top layer of your assembled squares with powdered sugar for a touch of sweetness and elegance.
- You can also get creative with other toppings! Drizzle with melted chocolate, arrange fresh berries on top, or sprinkle with chopped nuts.
Notes
- For a richer custard flavor, use full-fat milk and real vanilla extract.
- If your custard seems too thick after chilling, whisk in a tablespoon or two of milk to thin it slightly.
- Ensure your heavy cream is well chilled before whipping for the best results.
- Leftover squares can be stored in an airtight container in the refrigerator for up to 3 days.