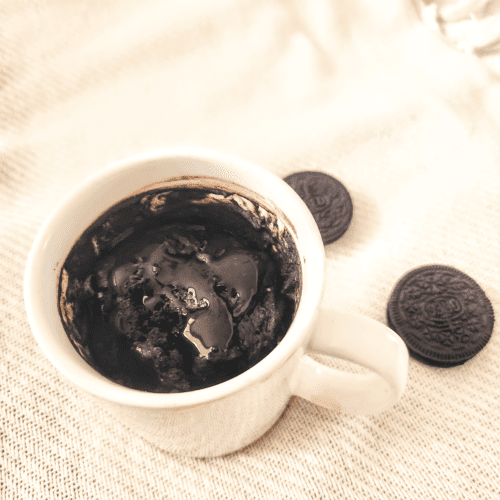
Air Fryer Oreo Mug Cake is one of the most liked single serving cake recipes nowadays. It is popular all over the internet and can be made by using a couple of ingredients.
I don’t know your choice but I am a huge fan of chocolates. This Air Fryer Oreo Mug Cake contains a chocolaty flavor with a gooey texture.

This Oreo mug cake air fryer can be perfectly made by using an air fryer, as it requires less time and is convenient. It can be prepared hardly around 10-12 minutes.
Oreo cookies are my favorite and I am sure that is can’t be hated! That’s why I love to make this Air Fryer Oreo Mug Cake. This recipe is versatile and you can add a lot of toppings on it. It’s a perfect recipe to make for a school snack, midnight dessert, or to fulfill a chocolate carving.
You might also like to try other easy air fryer mug cakes like Air Fryer Chocolate Mug Cake, Air Fryer Red Velvet Mug Cake, Air Fryer Carrot Cake and Air Fryer Starbucks Cream Cheese Danish
WHY YOU WILL LOVE THIS RECIPE
- Speedy Sweet Fix: In just a few minutes, you can go from craving a sweet treat to enjoying a warm and gooey Air Fryer Oreo Mug Cake. The air fryer minimizes the cooking process, making this dessert perfect for inappropriate cravings.
- Minimal Ingredients: You won’t need a list of ingredients for this recipe. With a handful of basic ingredients, you can create a delightful dessert that feels like a chef’s special.
- No-Fuss Cleanup: Forget about washing a lot of dishes! This recipe is designed for minimal mess, as it’s all mixed and cooked in a mug. Fewer dishes mean more time to enjoy your creation.
- Customization Galore: This Oreo mug cake air fryer is customizable for your creativity. You can add toppings, or serve with your favorite ice cream to personalize it to your taste.
INSTRUCTIONS TO MAKE AIR FRYER OREO MUG CAKE
INGREDIENTS YOU WILL NEED
- Oreo Cookies: You will need 4 oreo cookies; these classic chocolate sandwich cookies add a rich and indulgent flavor to the mug cake, creating a base of delightful crumbs.
- Milk: You will need 3 tbsp of milk, whether dairy or non-dairy, to create a smooth and moist texture in the mug cake.
- All-Purpose Flour: You will need 2 tbsp of all-purpose flour; it serves as the binding agent, helping to give the cake structure and consistency.
- 1/4 teaspoon Baking Powder: You will need ¼ tsp Baking powder, it adds a light and airy texture to the cake, ensuring it rises to perfection in the air fryer.
- 1 tablespoon Granulated Sugar: You will need 1 tbsp of granulated sugar, to provide that perfect level of sweetness.
- A Pinch of Salt: You will need a pinch of salt to enhance the overall flavor of the cake.
HOW TO MAKE AIR FRYER OREO MUG CAKE: STEP BY STEP
Step 1: Crush Oreo Cookies
Begin by separating the Oreo cookies and placing them in a Ziploc bag or between sheets of parchment paper. Using a rolling pin or the flat side of a heavy utensil, crush the cookies until you achieve fine crumbs. This step forms the foundation of your mug cake.
Step 2: Mix Dry Ingredients in Mug
Take an air fryer-safe mug and add the crushed Oreo crumbs to it. Incorporate the all-purpose flour, baking powder, granulated sugar, and a pinch of salt.
Thoroughly mix the dry ingredients with a spoon or fork, ensuring an even distribution of the components. The combination of these ingredients sets the stage for a well-textured and flavorful mug cake.

Step 3: Add Milk and Stir
Pour the milk of your choice into the mug containing the dry ingredients. Using a fork or a small whisk, stir the mixture vigorously until you achieve a smooth and consistent batter. It’s essential to eliminate any lumps, guaranteeing a uniform and delightful texture in the final product.
Step 4: Preheat Air Fryer and Cook
Preheat your air fryer to 350°F (180°C). While the air fryer is preheating, place the prepared mug in the basket. Once the air fryer is ready, insert the basket and cook the mug cake for 10-12 minutes.
Keep a close eye on it, as cooking times may vary depending on the make and model of your air fryer. The Air Fryer Oreo Mug Cake is ready when the center is set, and the top is firm to the touch.

TEMPERATURE INSTRUCTIONS
Whether you’re using an air fryer, oven, microwave, or even a grill, our Air Fryer Oreo Mug Cake is versatile enough to adapt to different cooking methods.
For the air fryer, preheat it to 350°F (180°C) and cook the Air Fryer Oreo Mug Cake for 10-12 minutes until the center is set.
If you prefer the oven, preheat it to the same temperature and bake for approximately 15-18 minutes.
Microwave enthusiasts can opt for a quicker version by microwaving the mug on high for 1-2 minutes; though note that the texture may vary slightly.
If you’re feeling adventurous and have a grill with an oven-safe setting, preheat it to 350°F (180°C) and bake the mug cake for around 15-18 minutes.
CONFIDENCE TIPS
- Using room-temperature milk helps create a smoother batter.
- The beauty of this recipe lies in its adaptability. Feel free to experiment with various Oreo flavors to customize your mug cake.
- If you prefer a sweeter Air Fryer Oreo Mug Cake, you can adjust the quantity of granulated sugar to your liking.
- While cooking times are provided as guidelines, it’s crucial to stay vigilant during the process.
STORAGE AND REHEATING
Store any leftovers of Air Fryer Oreo Mug Cake in an airtight container in the refrigerator for up to two days.
To reheat, pop it back in the air fryer for a quick warm-up.
ADDITIONS
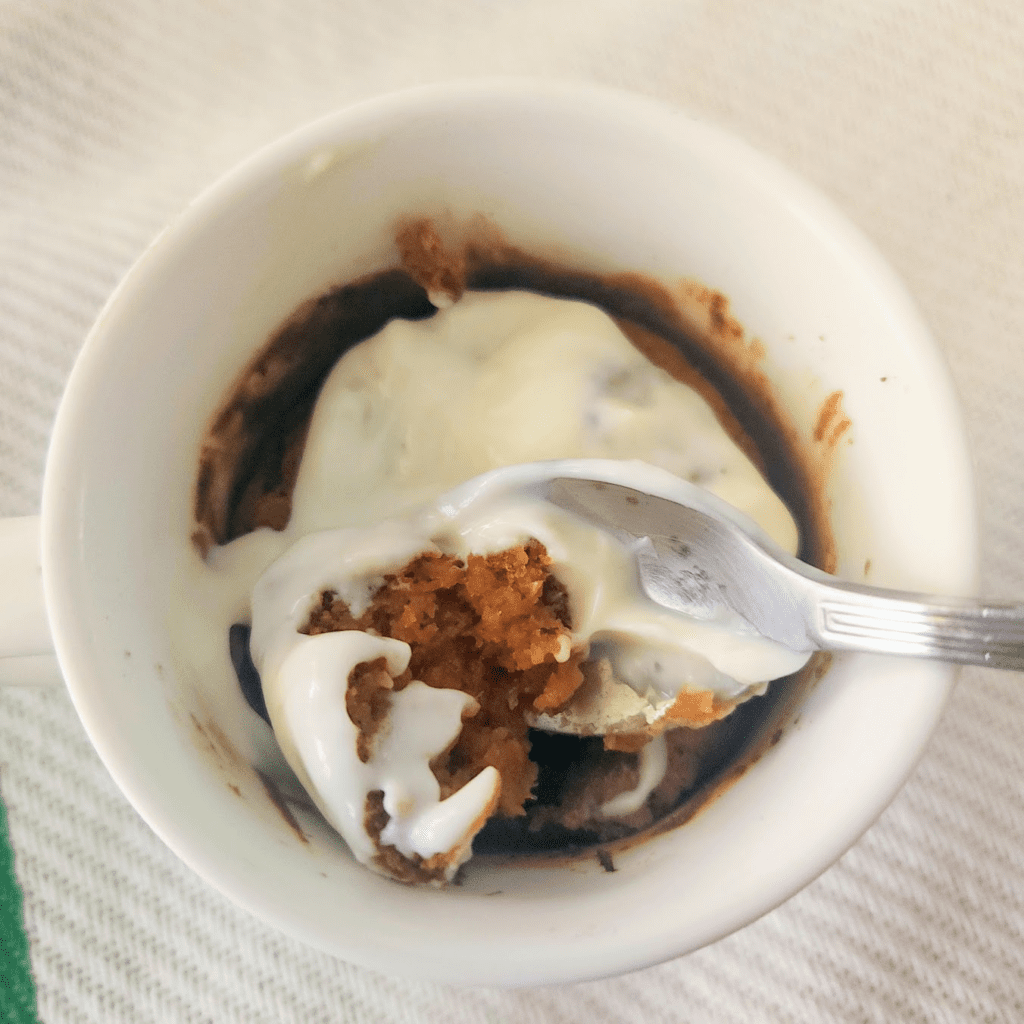
- Whipped Cream: You can add a generous dollop of freshly whipped cream. The light and airy texture of the cream complements the rich Oreo flavors, creating a delightful contrast.
- Sprinkle Crushed: For a satisfying crunch, sprinkle a handful of your favorite crushed nuts on top of the mug cake. Almonds, walnuts, or pecans are excellent choices.
- Scoop of Vanilla Ice Cream: Take your mug cake to the next level by serving it with a scoop of high-quality vanilla ice cream.
- Drizzle with Chocolate Syrup: Enjoy your sweet treat further by drizzling chocolate syrup over the top of your mug cake. The extra layer of chocolaty goodness adds a decadent touch.
HOW TO SERVE
- For a classic and refreshing pairing, serve your mug cake with a glass of cold milk.
- Elevate your dessert game by serving the mug cake with a side of vanilla bean custard.
- Create a vibrant and fruity accompaniment by serving your mug cake with a side of fruit compote.
- Add a touch of indulgence by drizzling warm caramel sauce over your mug cake.

FREQUENTLY ASKED QUESTIONS
Can I use any type of Oreo for this mug cake?
Absolutely! This recipe is versatile, allowing you to experiment with various Oreo flavors. Whether it’s classic, double-stuffed, or a unique edition, feel free to choose your favorite.
Can I make this mug cake ahead of time?
While the best texture is achieved when the mug cake is fresh, you can prepare the dry ingredients in advance and mix them with the wet ingredients when ready to bake. However, the optimal experience is enjoying it right after cooking.
Can I substitute milk with a non-dairy alternative?
Certainly! Almond milk, soy milk, or any other non-dairy alternatives work well in this recipe. Choose your preferred option to suit dietary preferences or restrictions.
How can I store leftovers, and can I reheat the mug cake?
Store any leftovers in an airtight container in the refrigerator for up to two days. To reheat, simply place the mug cake back in the air fryer for a quick warm-up or use the microwave for a shorter duration.
Can I bake this mug cake in a regular oven?
Absolutely! If you don’t have an air fryer, you can bake the mug cake in a preheated oven at 350°F (180°C) for approximately 15-18 minutes or until the center is set.
What’s the key to a perfect texture in the mug cake?
The key lies in achieving a smooth batter. Ensure that your milk is at room temperature for a smoother consistency. Additionally, thorough mixing and avoiding lumps in the batter contribute to the perfect texture of the mug cake.
Air Fryer Oreo Mug Cake
Equipment
- Air Fryer
- MICROWAVE SAFE MUG
Ingredients
- 4 Oreo cookies
- 2 tbsp all-purpose flour
- 1/4 baking powder
- 1 granulated sugar
- Pinch of salt
- 3 tbsp Milk
Instructions
- Step 1: Crush Oreo CookiesYou can start by crushing the Oreo cookies into fine crumbs. You can use a rolling pin or a food processor for this step. The crumbs will form the base of your mug cake.
- Step 2: Mix Dry Ingredients in MugCombine the crushed Oreos, all-purpose flour, baking powder, granulated sugar, and a pinch of salt in a microwave-safe mug. Ensure they are well-mixed for an even distribution of flavors.
- Step 3: Add Milk and Stir Pour the milk into the mug with the dry ingredients. Use a fork or a small whisk to stir the mixture thoroughly until you achieve a smooth batter. Ensure there are no lumps, and the ingredients are fully incorporated.
- Step 4: Preheat Air Fryer and Cook Preheat your air fryer to 350°F (180°C). Once preheated, place the mug in the air fryer basket. Cook the mug cake for 10-12 minutes or until the center is set. Keep an eye on it, as cooking times may vary based on your air fryer model.
Notes
- Experiment with different Oreo flavors.
- Adjust sugar based on preference.
- Use room temperature milk for a smoother batter.