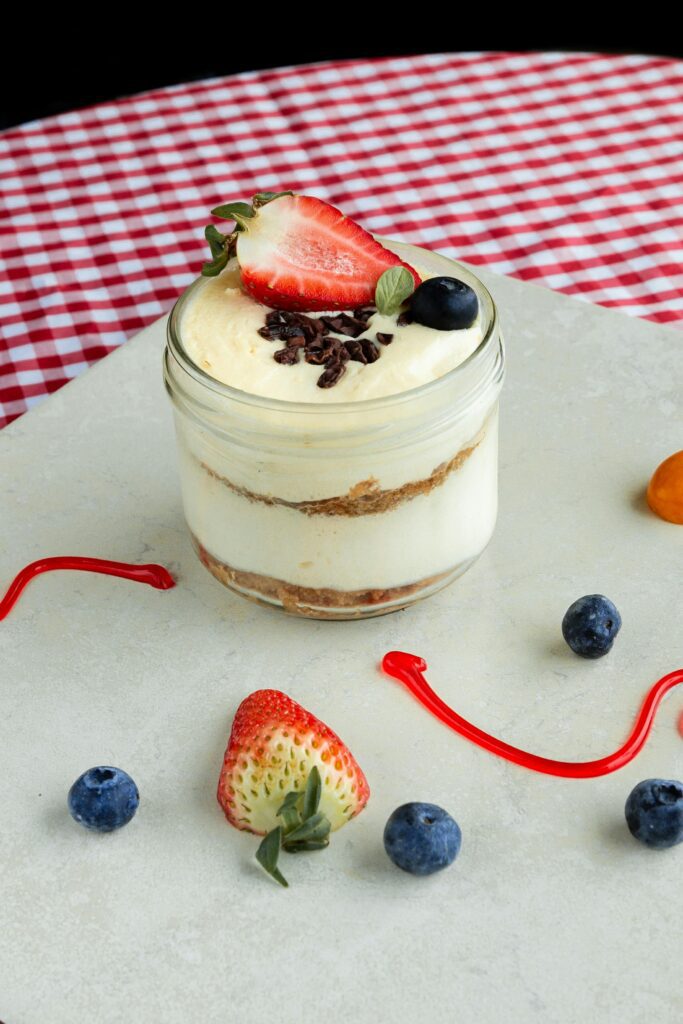
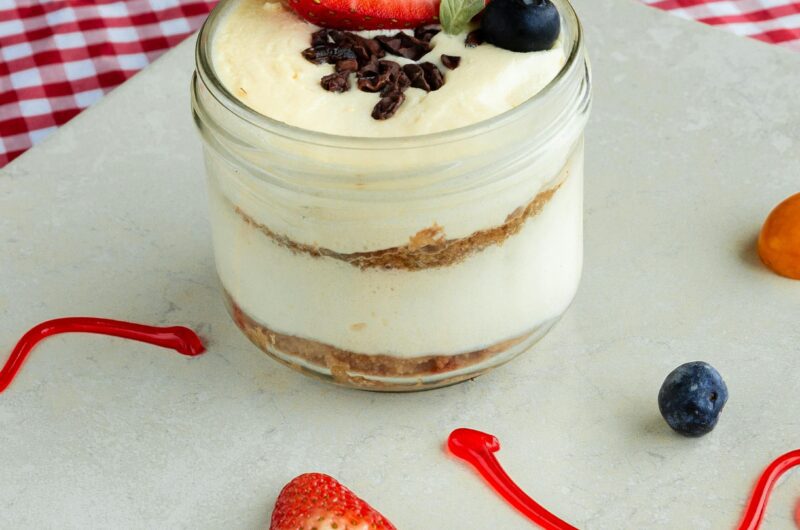
If you love healthy desserts that are quick, high in protein, and easy to meal prep, these Healthy Protein Cheesecake Jars with Cottage Cheese are a must-try. Made with simple ingredients, this cottage cheese dessert tastes rich and creamy while staying light, nutritious, and perfect for everyday snacking.
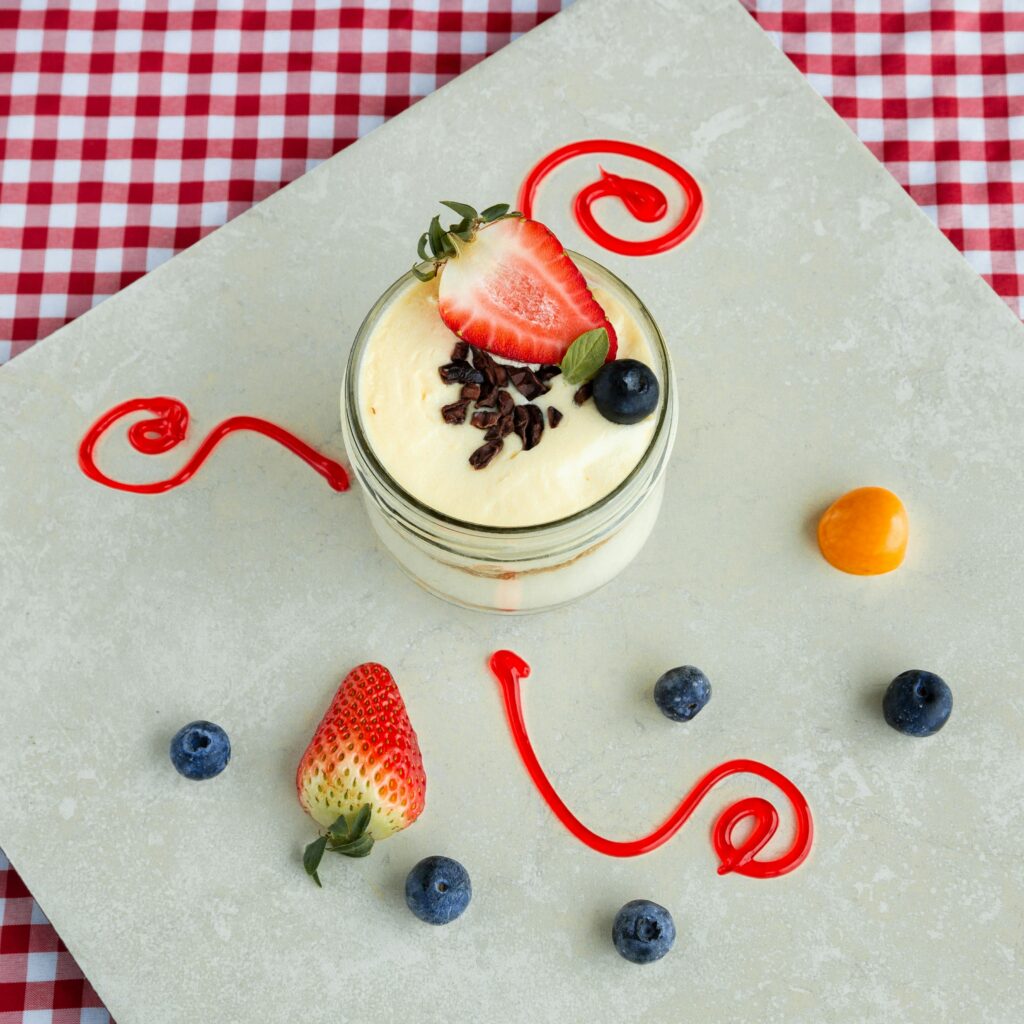
These mini cheesecake cups make an easy grab-and-go dessert, a quick snack between meals, or a fun individual treat to prep ahead for busy days. They travel well, take just minutes to make, and feel like a healthier twist on a classic cheesecake.
If you love cottage cheese desserts, protein snacks, or easy no-bake ideas, these little jars will become a go-to.
More High Protein Recipes For You To Try!
15 High Protein Smoothies For Breakfast, Post-Workout & On-the-Go
High Protein Banana Cream Pudding
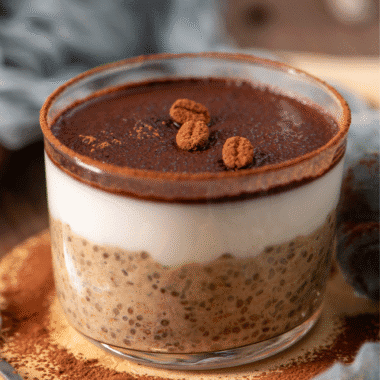
High Protein Chocolate Peanut Butter Chia Seed Pudding
Ingredients You'll Use
- Cheesecake Filling
1 ¼ cups cottage cheese
1 cup fat‑free cream cheese
1/2 cup vanilla-flavored protein powder
1/4 cup sugar-free maple syrup
2 teaspoons vanilla extract
- Graham Cracker Crust
6 keto graham crackers (or substitute graham crumbs)
1 tablespoon melted butter
- Toppings
Fresh fruits of your choice (berries work great)
Blueberry jam or sugar-free jam (optional)
How to Make It?
- In a blender or food processor, add the cottage cheese, cream cheese, protein powder, maple syrup and vanilla extract.
Blend on high speed until everything is smooth and creamy. Pause once or twice to scrape down the sides so nothing is stuck. The goal is a silky mixture with no lumps.
- Take the graham crackers (or substitute) and crush them to fine crumbs. If your blender is small, do this in two batches.
Transfer the crumbs into a medium bowl and stir in the melted butter until everything is well coated and clusters form. This becomes your crunchy base. - In 4 small jars or serving cups, divide the graham cracker crust evenly so each gets a base layer. Press down gently with the back of a spoon to compact it. Then spoon the cheesecake filling on top of each crust layer, smoothing the top so it looks neat.
- Place the jars in the refrigerator and allow them to chill for at least 1‑2 hours. This gives the filling time to set and the flavors to meld. For the best texture, I often let them chill overnight, then they’re perfectly firm and creamy.
- Just before serving, top each jar with fresh fruit (berries, banana slices, kiwi, whatever you like) and optionally a dollop of sugar‑free jam. Serve chilled and enjoy the creamy, crunchy combination.


Nutritional Snapshot (Per Jar, Approx)
| Nutrient | Amount |
|---|---|
| Calories | ~347 kcal |
| Protein | ~30 g |
| Carbohydrates | ~14 g |
| Net Carbs | ~12 g |
| Fat | ~20 g |
| Fiber | ~2 g |
| Sugar | ~3 g |
Note: Toppings like jam, additional chocolate or nuts will change these numbers.
The Vegan Version – Deliciously Dairy-Free
If you’re following a plant-based lifestyle or just want a dairy-free option, you can absolutely enjoy these Protein Cheesecake Jars without missing out on flavor or texture.
The key is swapping the dairy ingredients for plant-based alternatives while keeping the creamy, rich consistency intact.
Here’s how I do it:
- Cream cheese swap: Use vegan cream cheese instead of traditional cream cheese. Brands like Kite Hill, Tofutti, or homemade cashew-based cream cheese work perfectly.
- Cottage cheese swap: Replace cottage cheese with a dairy-free alternative, such as almond-based cottage cheese, tofu blended until smooth, or soft silken tofu for creaminess.
- Protein powder: Use a vegan protein powder (pea, rice, or soy-based) to maintain the protein content. Make sure it’s unflavored or vanilla-flavored for best results.
- Other ingredients: Keep the rest of the ingredients the same, graham cracker crust, sweetener, vanilla, and toppings, unless you want to make it fully plant-based (e.g., use a vegan butter or coconut oil for the crust).
The Crust-Free Option
If you’re short on time, prefer fewer carbs, or just want an even lighter version, you can skip the crust entirely. Simply spoon the cheesecake filling directly into your jars or cups and smooth the top.
Even without the crumb base, the jars remain creamy, rich, and satisfying. You can still add your favorite fresh fruit, nuts, or a drizzle of sugar-free syrup on top for color, crunch, and flavor.
The Dessert-Style Version
Sometimes you just want your cheesecake jars to feel extra special, and that’s where this dessert-style version comes in. Top each jar with dark chocolate shavings, a sugar-free caramel drizzle, or a swirl of peanut butter for a richer, more indulgent treat.
Even with these toppings, the jars remain protein-packed and satisfying, so you can enjoy a little indulgence without straying from your goals.
Freezer and Storage Tips – Keep Them Ready Anytime
These Protein Cheesecake Jars are perfect for meal prep, and knowing how to store them makes life easier.
Once you’ve assembled the jars (but before adding any fresh fruit or delicate toppings), seal them tightly and freeze. This way, you can make a batch ahead and always have a creamy, protein-packed dessert or snack ready.
When you’re ready to enjoy one, simply thaw overnight in the fridge. In the refrigerator, these jars will stay fresh for 4–5 days, making them perfect for quick grab-and-go breakfasts, post-workout snacks, or easy desserts throughout the week.
On-the-Go-Fuel – Quick Grab and Go
Here’s how to make these Protein Cheesecake Jars perfect for busy mornings or snacks on the run:
- Use wide‑mouth jars with secure screw-on lids for easy transport and no spills.
- Prepare a batch ahead and store in the fridge for 4–5 days.
- Grab one quickly whenever you need a high-protein snack or mini-meal.
- Add toppings last, fruit, nuts, or a drizzle of sugar-free syrup, just before eating to keep everything fresh.
- Portable and mess-free, perfect for work, school, or post-workout fuel.
Kid Snack Jar – Fun and Portion-Perfect
These Protein Cheesecake Jars are ideal for little hands and lunchboxes. Here’s how I make them kid-friendly:
- Use smaller jars or cups so portions are perfect for children.
- Top with fruit like sliced strawberries, blueberries, or banana coins for color and natural sweetness.
- Add interactive toppings such as mini chocolate chips, sprinkles, or chopped nuts so kids can customize their jars.
- Make ahead: Prepare the jars the night before for an easy, grab-and-go morning snack.
- Healthy and fun: They feel like a treat but are packed with protein, keeping kids energized and satisfied.
Quick Tips to Make Things Better
- Use a high‑power blender or food processor so the filling is ultra smooth.
- Press crust firmly so it holds up when spooning the filling.
- Chill overnight for best texture — the longer the fridge time, the creamier.
- Use colorful toppings to make each jar exciting and inviting.
- Clean rims of jars before covering so lids seal properly and prevent fridge odors.
- If freezing, leave off the fresh fruit until after thawing so the fruit stays fresh.
I’ve found that these Healthy Protein Cheesecake Jars are the perfect balance of indulgence and nourishment. They’re creamy, flavorful, and packed with protein, making them a smart choice for breakfast, a snack, or even a mini dessert.
Try experimenting with different toppings, fruits, or crusts, and you’ll discover just how easy it is to make a small jar feel like a personal treat every day.
Frequently Asked Questions
Can I double the recipe for a larger batch?
Absolutely! Simply double all ingredients and use more jars. Just make sure your blender or food processor can handle the larger amount, or blend in batches for smooth consistency.
Can I use flavored protein powder?
Yes! Vanilla works best for a classic cheesecake taste, but chocolate, strawberry, or even caramel-flavored protein powder can make a fun twist. Adjust sweetener slightly if needed.
Will the texture change if I skip the cream cheese?
Yes, the filling may be less creamy and more grainy. You can try adding a small amount of Greek yogurt or silken tofu to maintain smoothness while keeping it high-protein.
Can I use gluten-free crackers for the crust?
Definitely! Gluten-free graham crackers or almond flour mixed with a bit of butter make a perfect alternative. The texture might be slightly different, but the flavor stays delicious.
Can I make them vegan and gluten-free at the same time?
Yes! Use plant-based cream cheese and cottage cheese alternatives, vegan protein powder, and gluten-free crust options. You’ll have a fully plant-based, gluten-free, protein-rich dessert or snack.
Healthy Protein Cheesecake Jars
Course: Dessert4
servings15
minutes1
hour1
hour15
minutesIngredients
Cottage cheese 1 1/4 cups
Fat-free cream cheese 1 cup
Protein powder (Vanilla) 1/2 cup
Sugar-free maple syrup
Graham crackers or crumbs 6 pcs
1 tbsp melted butter
Toppings: Fresh fruit, jam
Directions
- Blend cottage cheese, cream cheese, protein powder, syrup and vanilla until smooth.
- Crush the graham crackers to fine crumbs, mix with melted butter, and press into jar bottoms.
- Spoon the cheesecake filling over the crust in each jar.
- Refrigerate for 1‑2 hours, then top with fruit or jam and serve chilled.